Last updated October 30, 2026
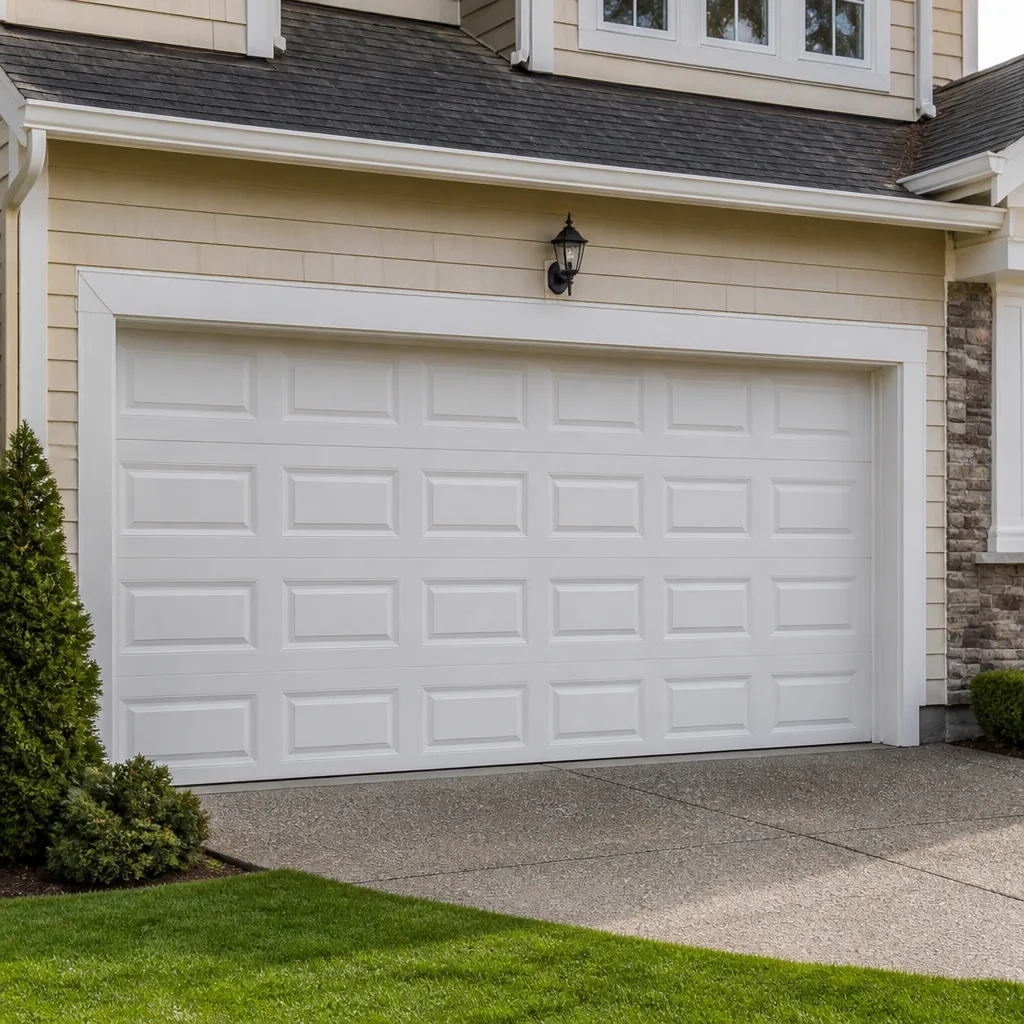 Raised-panel steel
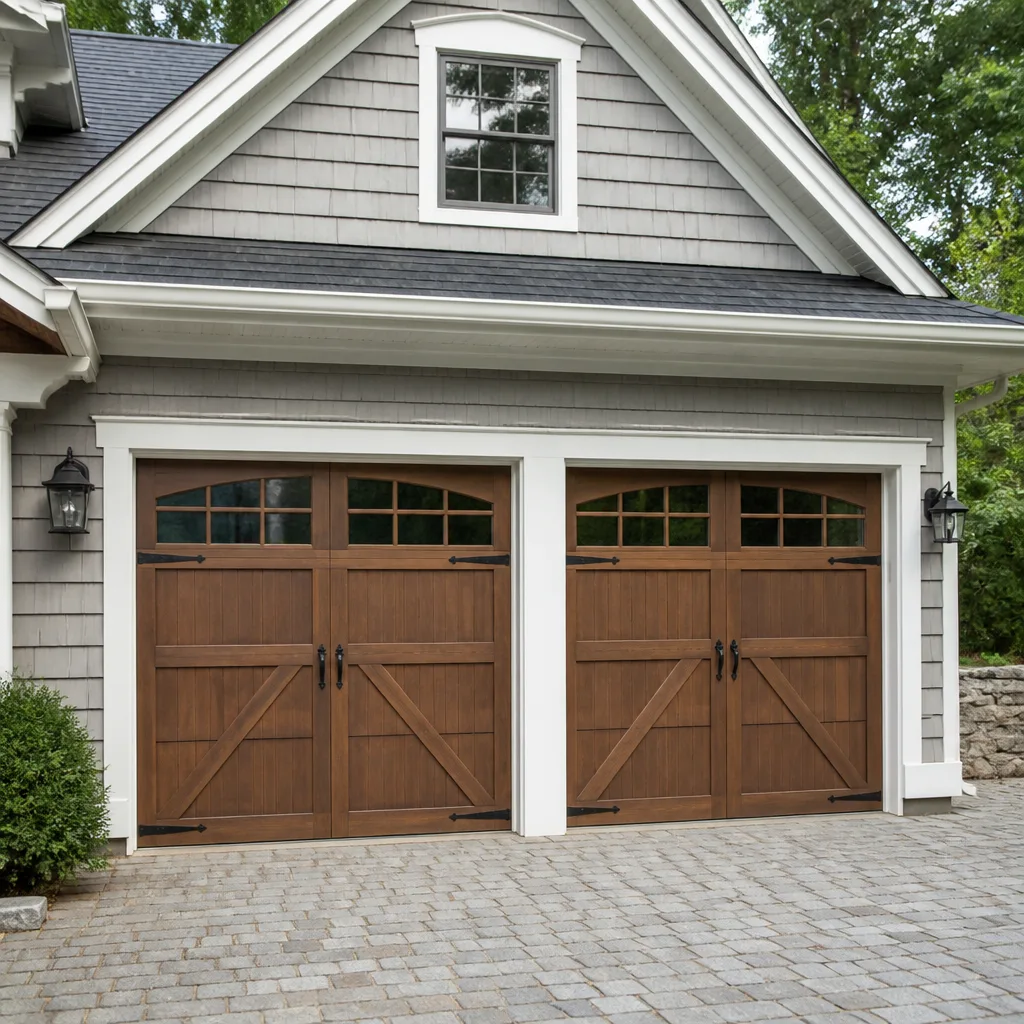 Carriage house
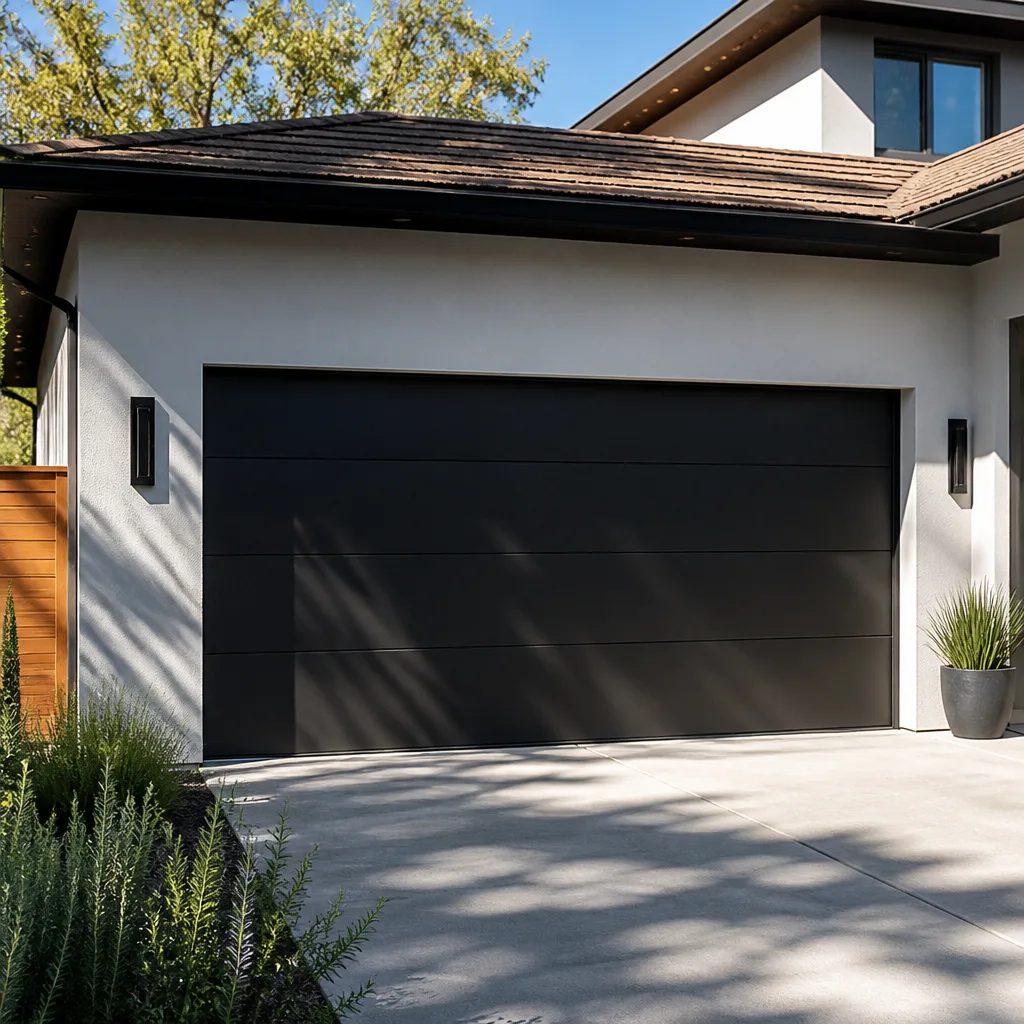 Modern flush
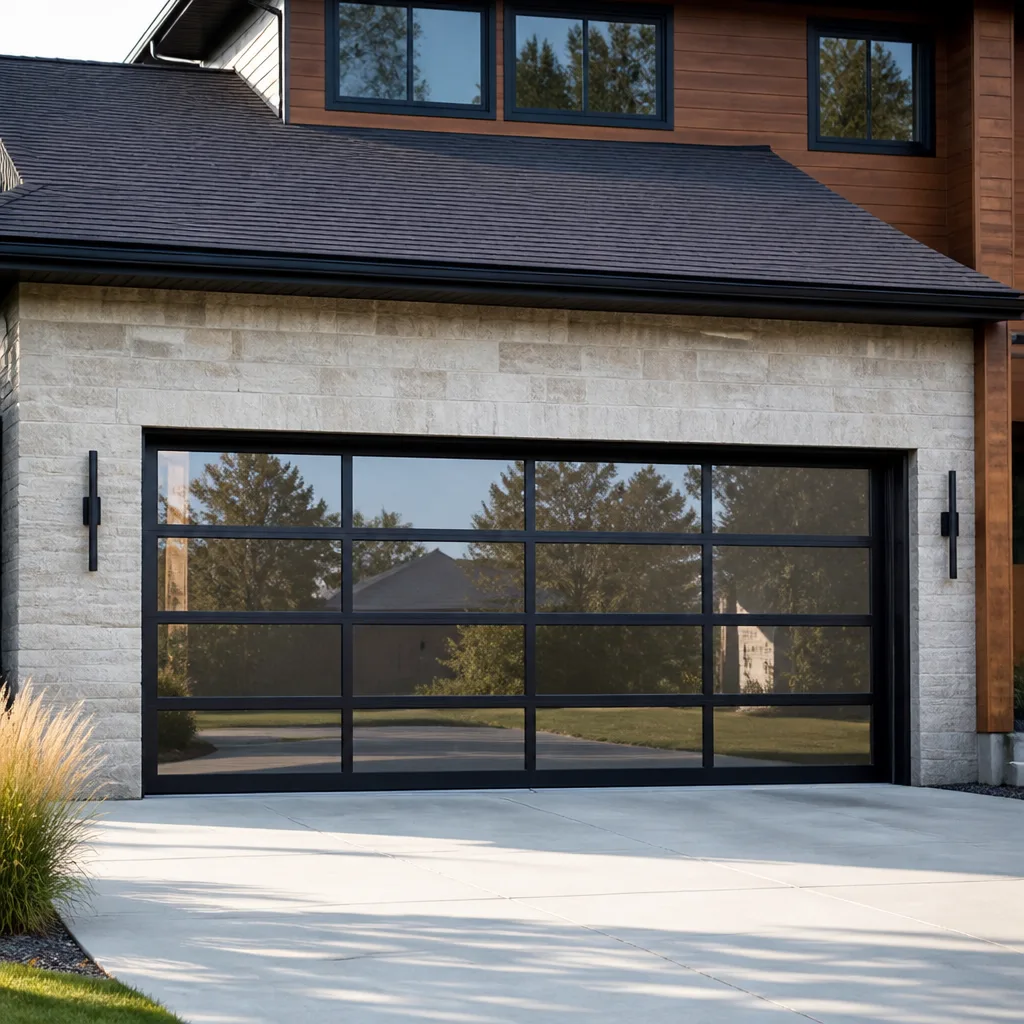 Full-view glass
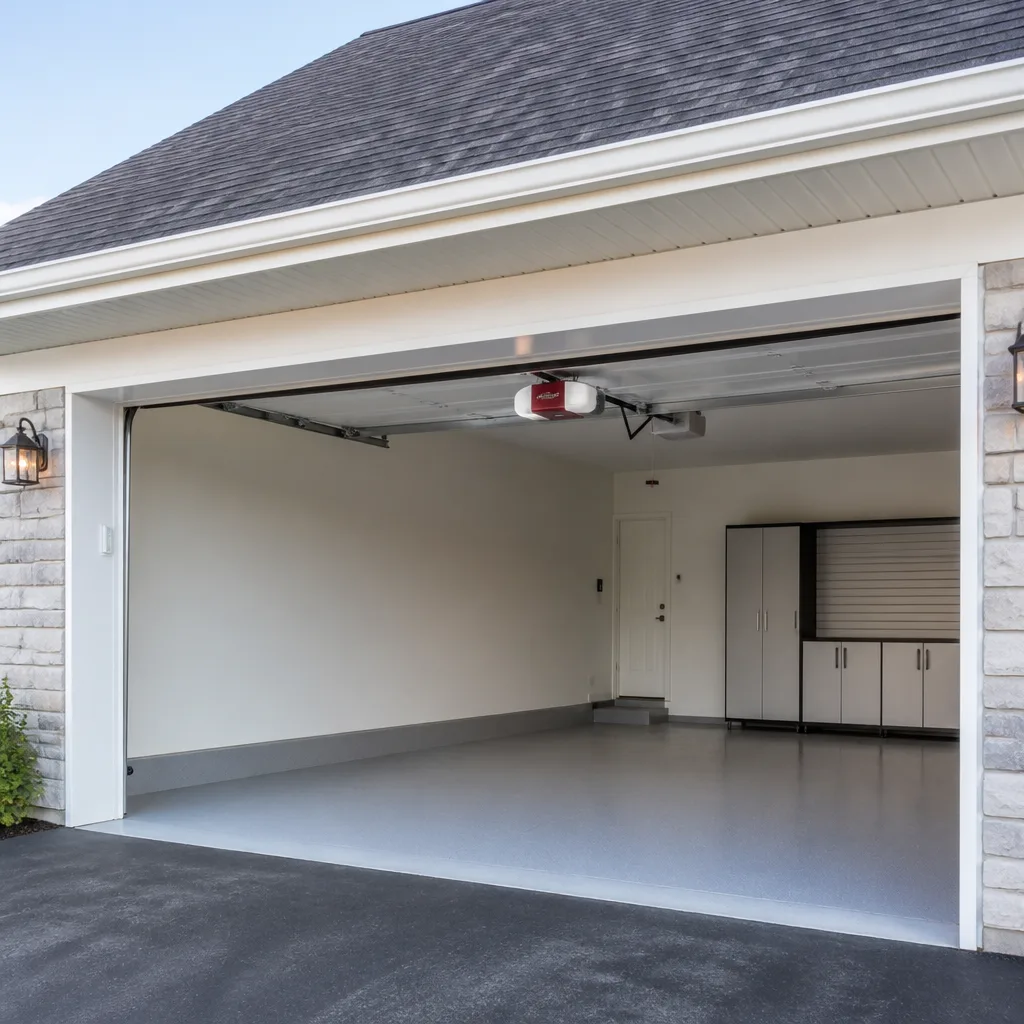 LiftMaster openers
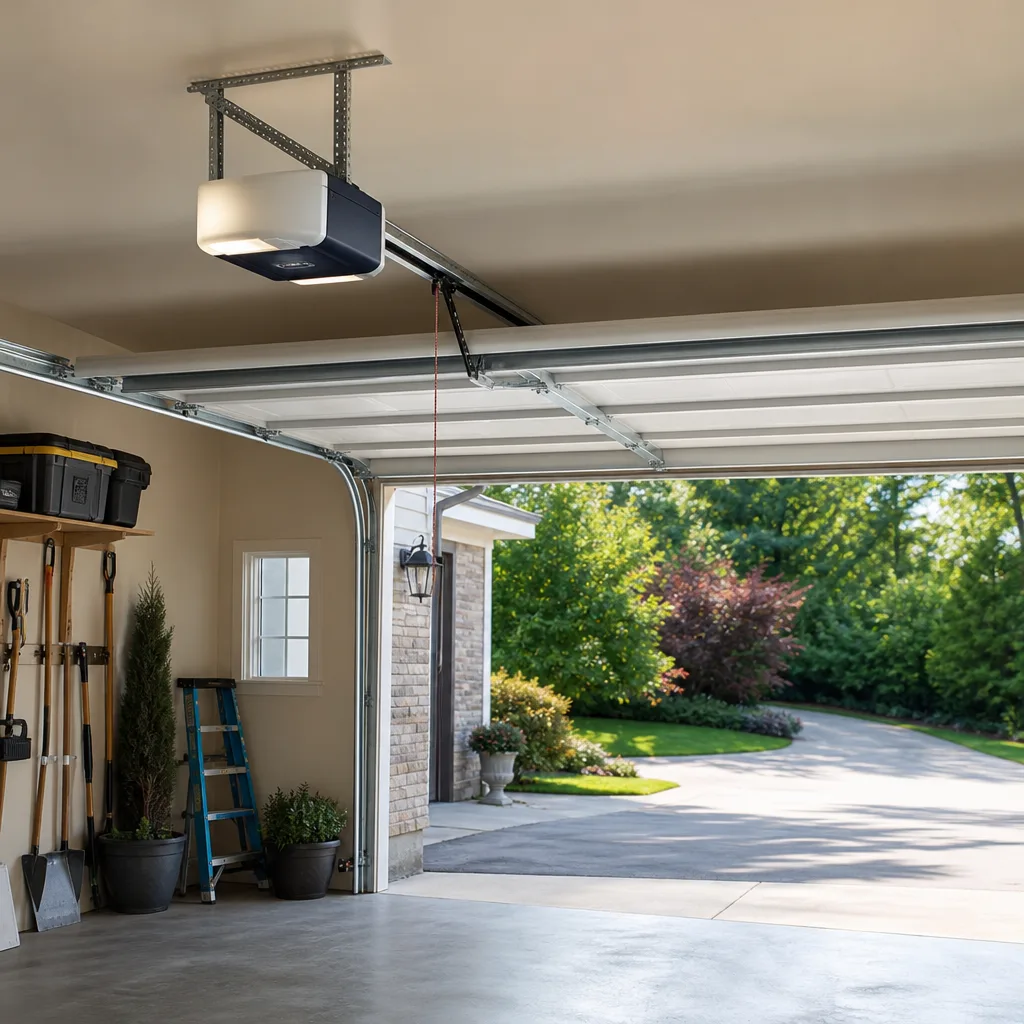 Chamberlain openers
Full 25-point door and opener safety check with every visit - springs, cables, rollers, tracks, and your LiftMaster or Chamberlain opener included
You get a price before we start. It does not change when the truck arrives.
Get your free estimateGarage Door Repair Troubleshooting: Common Problems and How to Fix Them
The most expensive mistake in garage door repair in Orlando isn’t a botched fix. It’s the wasted service call. Every week, homeowners across Orlando pay a truck fee for a technician to diagnose something they could have identified themselves in under five minutes. The number one wasted call in our industry: a technician dispatched for a “broken opener” that turns out to be a worn spring the opener can no longer lift. Two completely different repairs, roughly $300 apart in cost. This guide teaches you the systematic diagnostic process we use in our Garage Door Repair services, so you can separate mechanical failures from electrical failures from safety-sensor failures before you ever pick up the phone.
Styles & brands we work with
Quick Answer
Garage door troubleshooting follows a three-branch logic: mechanical failures (springs, cables, rollers, tracks), opener failures (motor, gears, circuit board, travel limits), and sensor failures (photo eyes, wall button, remote signal). Start by observing the door’s behavior and listening to its sounds, then eliminate one branch at a time. Never attempt to adjust or release torsion springs yourself; visual inspection only. If your door is off track, has a snapped cable, or won’t move under motor power, call a trained technician.
Table of Contents
- Branch One: Mechanical Failures – Springs, Cables, Rollers, and Tracks
- Branch Two: Opener Failures – Motor, Gears, Circuit Board, and Travel Limits
- Branch Three: Sensor and Signal Failures – Photo Eyes, Wall Button, and Remote
- What the Sounds Tell You: Grinding, Popping, Squealing, and Clicking
- How to Check Spring Tension and Cable Integrity Without Touching Anything Dangerous
- Why a LiftMaster Blinking Four Times Is Not the Same as a Chamberlain Blinking Four Times
- How to Confirm a Repair Was Done Right, Not Just That the Door Moves Again
- Common Mistakes to Avoid
- When to Call a Professional
- Frequently Asked Questions
- The Bottom Line
Branch One: Mechanical Failures – Springs, Cables, Rollers, and Tracks
Mechanical failures are the most common cause of a door that won’t open or closes unevenly. They’re also the most dangerous for a homeowner to misdiagnose. In Orlando’s humid climate, corrosion on the torsion system and track hardware accelerates faster than in drier regions. We see rust powder on cables and roller stems within three to five years of installation near the coast, sometimes sooner in neighborhoods like College Park or Baldwin Park where older garages lack ventilation.
Here’s how to identify what’s wrong without putting your hands anywhere near the parts that kill.
Snapped Torsion Spring
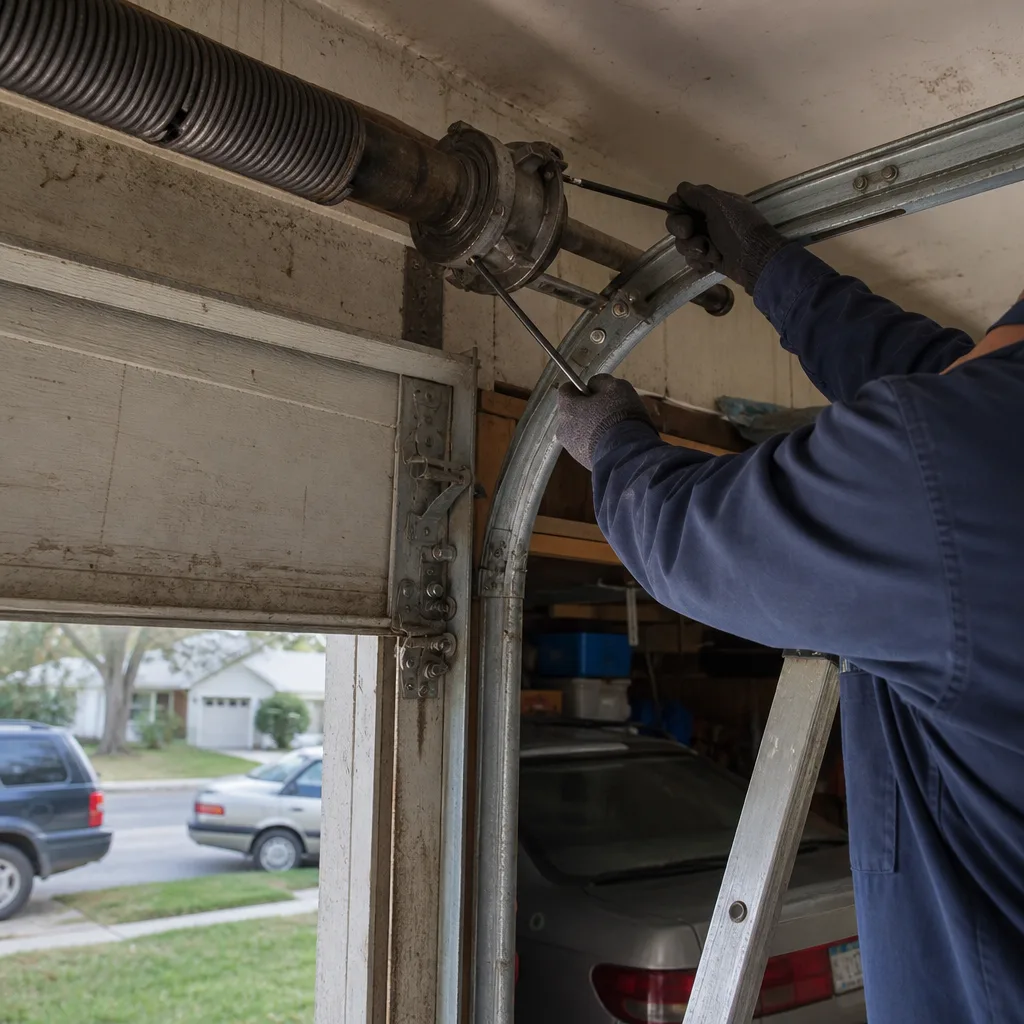
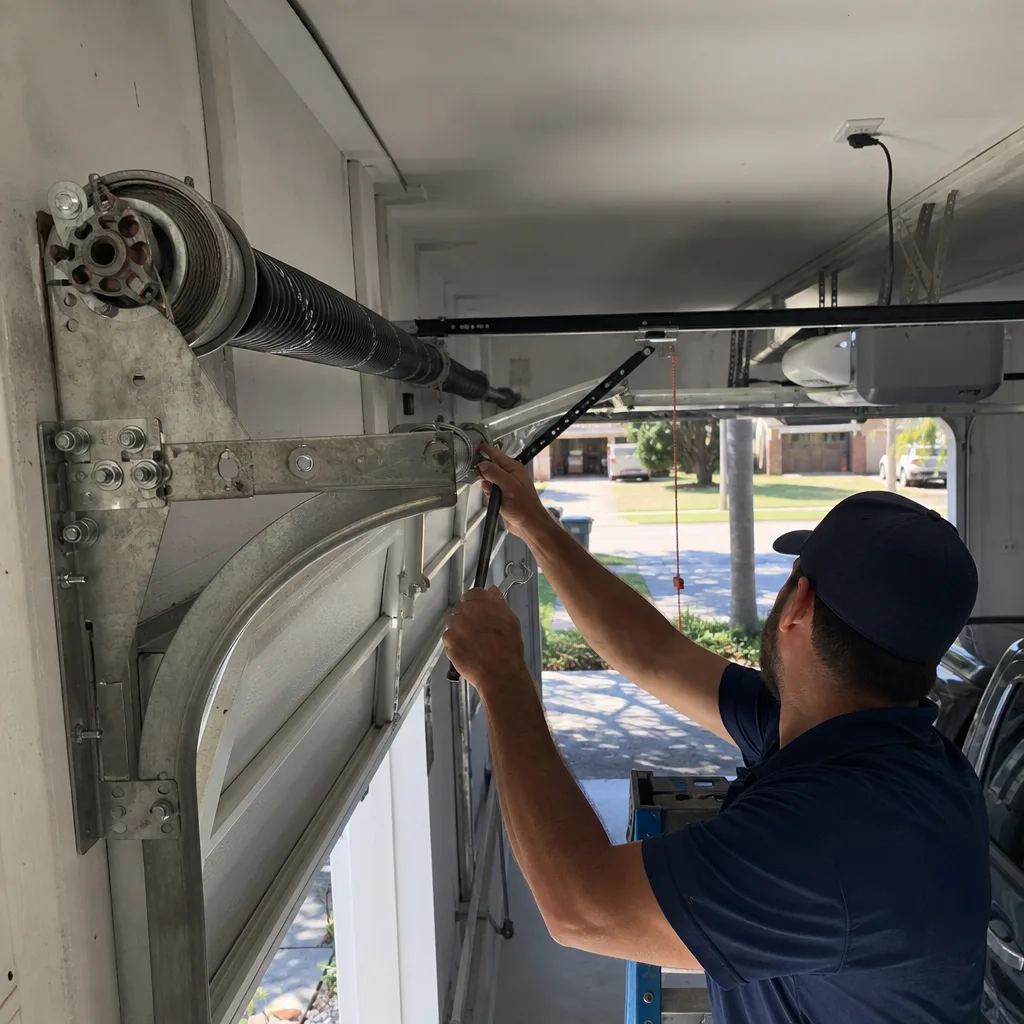
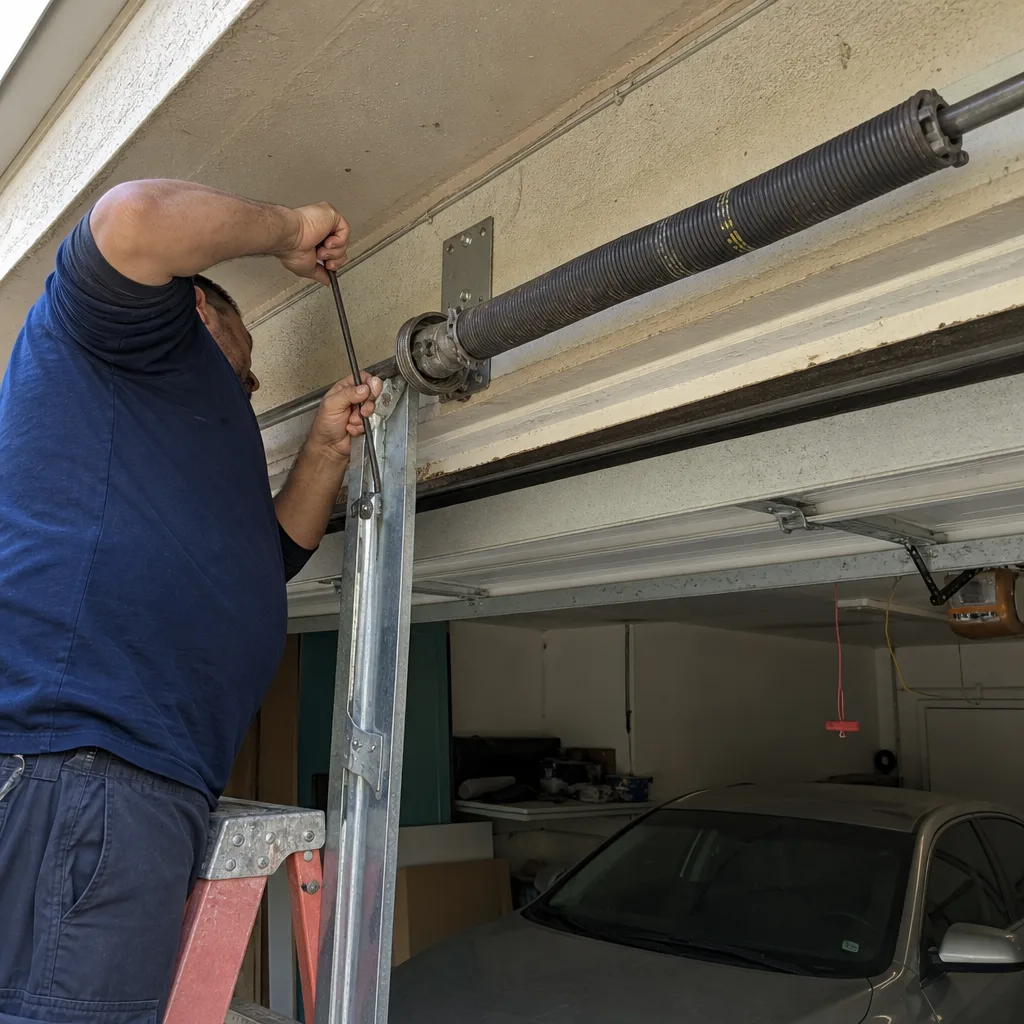
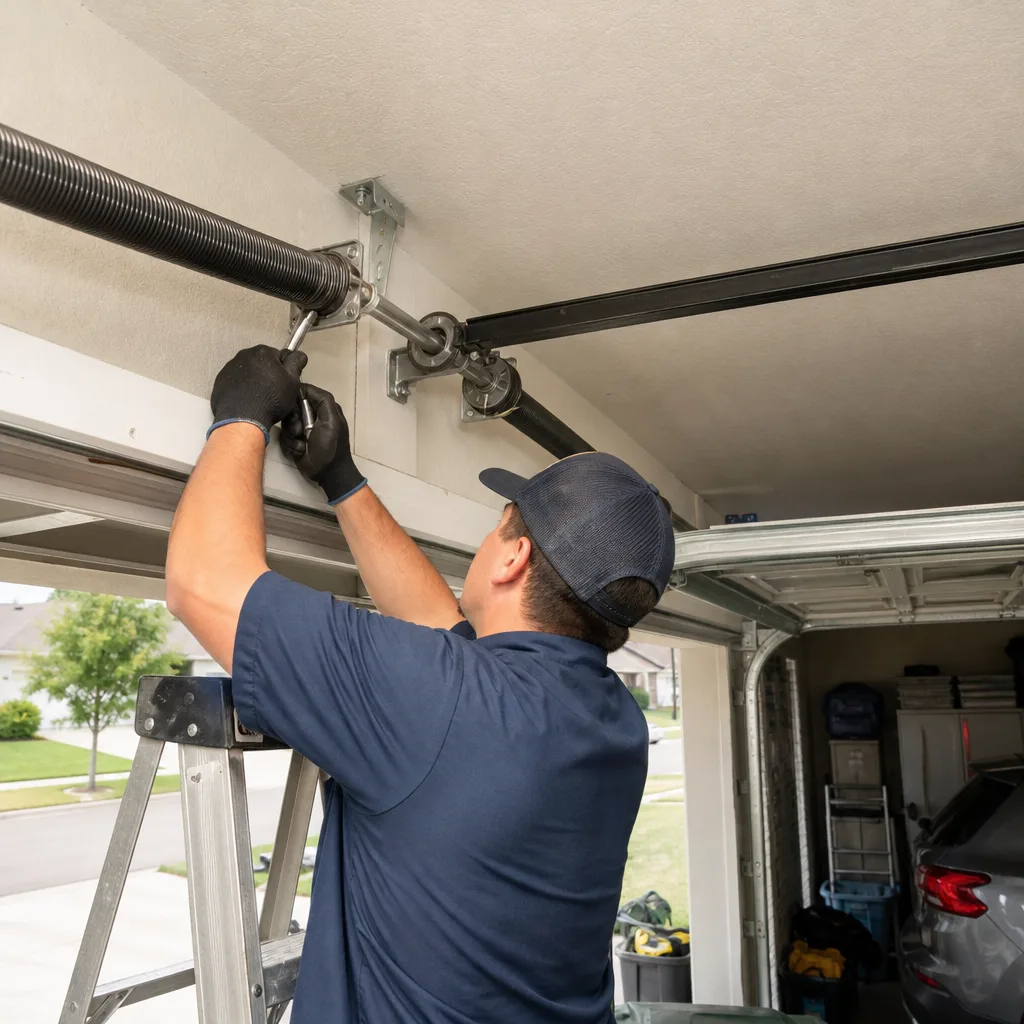
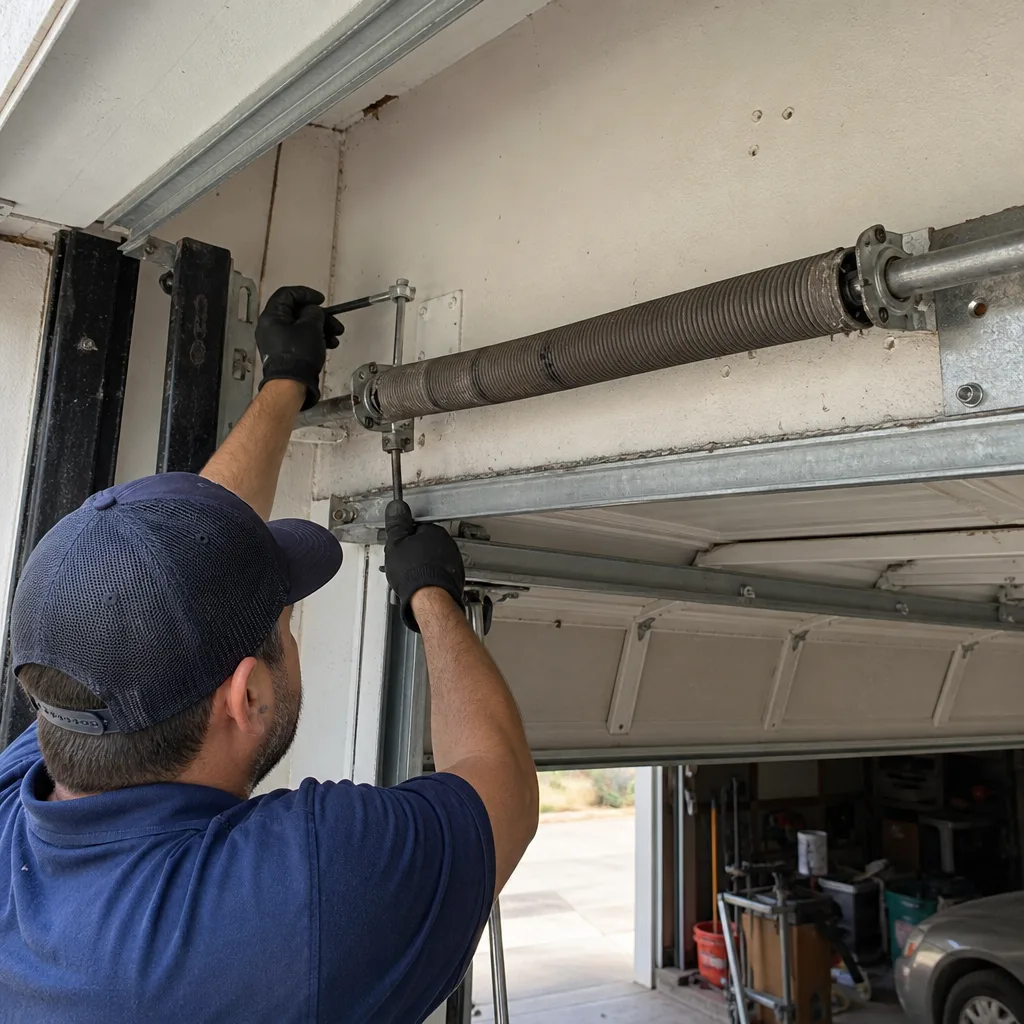
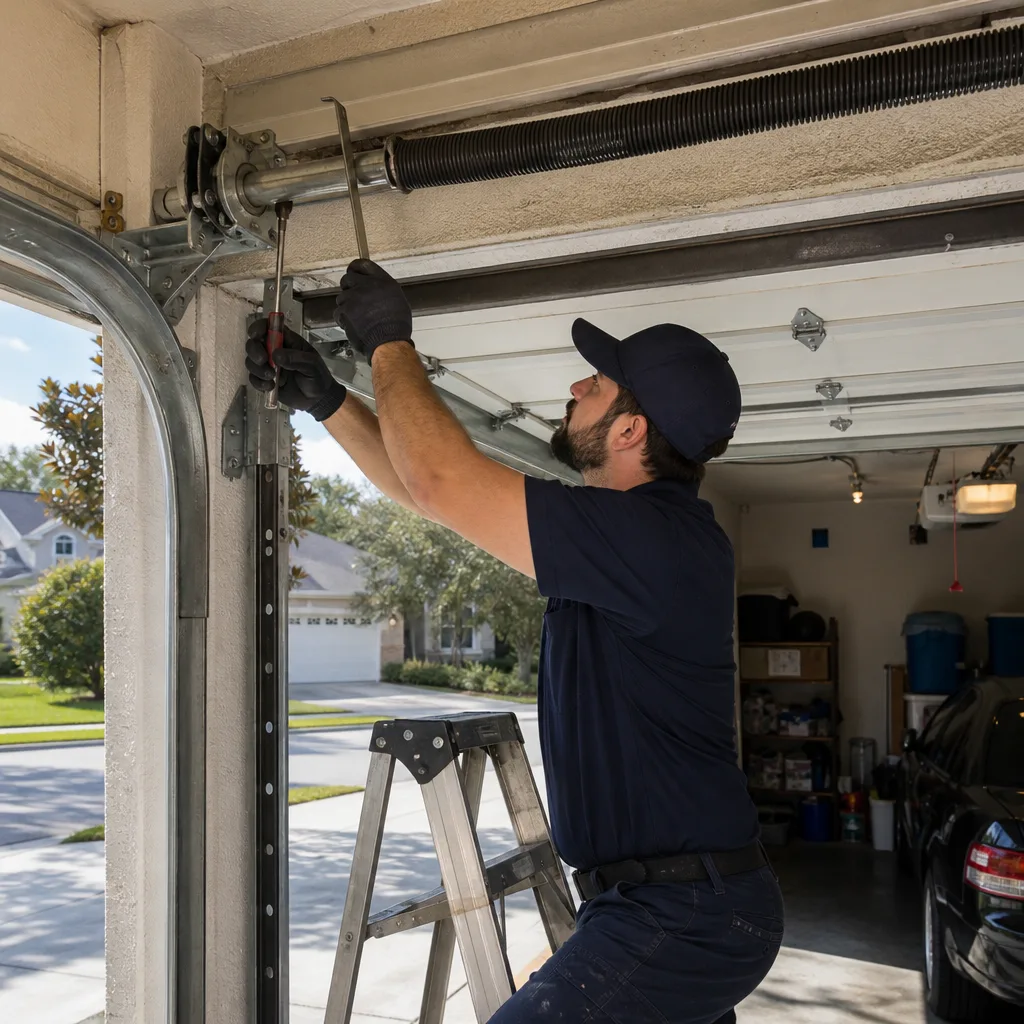
You’ll hear it. A torsion spring snapping sounds like a gunshot inside the garage. After it breaks, the door either won’t lift at all or lifts only a few inches before the opener’s force setting trips. Look at the spring above the door, centered on the torsion tube. A two-spring system will show one spring with a visible gap in its coil. A single-spring system will show the same. If you see a gap, the spring is broken. Do not open the door manually. Do not attempt to remove the broken spring. Call for repair. This is the single most common repair we perform in Orlando, and it’s not a DIY job.
Worn or Breaking Cables
Cables live under tension even when the door is down. Look for fraying near the bottom roller bracket and at the cable drum. Frayed strands are visible and unmistakable once you know to look. A cable that is about to snap will sometimes leave the door hanging slightly crooked. In Orlando garages, cable failure is often preceded by rust at the cable drum, where moisture collects. If you see fraying, stop using the door immediately.
Bent or Worn Rollers
Nylon rollers shed material, steel rollers corrode, and both eventually bind. A door that shudders on the way up or bounces sideways in the track usually has one or more failed rollers. Roller replacement is a lower-risk repair, but still involves working near a door under spring tension. We replace rollers as a maintenance item on Orlando homes regularly, particularly on Wayne Dalton doors that use rollers with exposed ball bearings that don’t love Florida humidity.
Track Misalignment
A door that binds at a specific point during travel, especially with a scraping sound, usually has a track that’s shifted. Track brackets can loosen from the wall over time. In Orlando’s older block-construction homes, the wall anchors occasionally pull away from the concrete, which requires a different fix than a simple bolt tightening. Visual check: stand inside the garage with the door down and look up each track. The gap between the door edge and track should be consistent. If it narrows at any point, the track has moved.
Branch Two: Opener Failures – Motor, Gears, Circuit Board, and Travel Limits
Openers fail in four distinct ways. The motor can burn out, the gear assembly can strip, the circuit board can fry, or the travel limits can drift. Each produces a different symptom, and confusing them leads to replacing parts that don’t need replacing.
In Orlando’s summer lightning season, we see a spike in circuit board failures. A surge through the wall outlet takes out the logic board but leaves the motor intact. The symptom: the opener does nothing at all. No hum, no click, no movement. If the lights on the unit don’t respond to the wall button, the board is likely dead. On a Chamberlain, the wall button may still work but the unit won’t run. On a LiftMaster, you’ll often see green LEDs lit but no motor response. Different brands fail differently, which is why we never diagnose openers by guessing. Garage Door Opener Repair in Orlando is a separate specialty precisely because opener diagnosis requires brand-specific logic.
Stripped Gears
Stripped gears make noise. The motor runs, the drive gear spins, but the door doesn’t move. You’ll hear a grinding or whirring sound from the powerhead. This is a common failure on older Craftsman and Chamberlain belt and chain drive units, especially in Florida where heat cycling degrades the nylon gear material faster. The fix is a gear kit replacement, which is an opener repair, not a door repair. If the motor runs but the door stays put, the gear kit is the first thing to check.
Travel Limit Drift
An opener that reverses immediately after touching the floor, or stops a foot short, usually has travel limits that have drifted. This is the most common “repair” that isn’t a repair at all. The fix is resetting the limits using the opener’s adjustment controls. On a Genie, this is a simple two-button process. On a Raynor opener, the procedure is slightly different. Most homeowners can do this themselves with the manual, but getting it wrong means the door either doesn’t seal or slams into the concrete. We walk Orlando customers through this over the phone when the unit is a brand we service.
Motor Burnout
A dead motor is silent. No hum, no voltage draw at the motor, no movement. On a LiftMaster, you’ll see an error code. On a Genie, you’ll get nothing at all. Motor replacement is almost never worth it on a residential opener over seven years old. At that point, a new opener is the better investment. We’re brand-agnostic on that recommendation. A new LiftMaster makes sense for some homes; a Chamberlain for others. The right answer depends on the door’s weight, the opener’s duty cycle, and the homeowner’s noise tolerance.
Branch Three: Sensor and Signal Failures – Photo Eyes, Wall Button, and Remote
Sensor failures are the most over-diagnosed and under-diagnosed category simultaneously. They’re over-diagnosed because homeowners jump to “the sensor must be blocked” the moment the door acts up. They’re under-diagnosed because some sensor failures mimic mechanical failures exactly.
The safety sensor, or photo eye, sits on each side of the door opening, about six inches off the floor. When the beam is interrupted, the door refuses to close, or reverses mid-travel. In Orlando’s dusty garages and in homes near construction, these lenses get covered in fine debris and fail to see each other. The fix is simple: wipe the lenses with a dry cloth. If the door still won’t close, check the wiring to each sensor. A loose wire or a corroded connector produces the same symptom as a blocked beam.
The wall button is a different circuit entirely. A dead wall button on a LiftMaster won’t respond, while the remote still works. On a Raynor, a wall button with a shorted wire can cause intermittent operation that looks like a logic board failure. The diagnostic step: unplug the wall button and try the remote. If the remote opens the door, the wall button or its wiring is the problem, not the opener.
Remotes fail in predictable ways. Dead battery is the obvious one. But a remote that works from inside the garage but not from the driveway has a signal path problem, usually interference from LED bulbs in the opener itself. We’ve seen this in Orlando garages where homeowners swapped in cheap LED shop lights that broadcast noise on the same frequency as the remote. The fix is a different bulb, not a new opener.
What the Sounds Tell You: Grinding, Popping, Squealing, and Clicking
Sound is the most underused diagnostic tool in garage door troubleshooting. A trained ear can separate a spring issue from a roller issue from an opener issue in the first two seconds of operation. Here’s the sound-to-cause map we use on every service call in Orlando.
- Grinding or metal-on-metal: Almost always a failed roller bearing or a track contact issue. If the grinding follows the door’s travel, it’s a roller. If the grinding comes from the powerhead while the door doesn’t move, it’s stripped opener gears.
- Popping or banging: A torsion spring is binding, a section hinge is failing, or the door is out of balance and thrashing the track. Popping during operation on a Wayne Dalton door with a TorqueMaster system often indicates a spring issue inside the tube.
- Squealing: Dry rollers, dry bearing plates, or a dry opener chain. Squealing that changes pitch as the door moves is usually a roller. Constant squeal from the powerhead is the opener’s drive mechanism.
- Clicking without movement: The opener’s relay is firing but the motor isn’t turning. This is a capacitor failure or a dead motor on most residential openers. On a Craftsman, a rapid clicking is sometimes the circuit board trying to reset itself after a surge.
Write down what you hear before you call anyone. The description matters more than most homeowners realize.
How to Check Spring Tension and Cable Integrity Without Touching Anything Dangerous
Torsion springs store enough energy to kill or maim. Every year, Orlando homeowners end up in emergency rooms from attempting spring work with improvised tools. This section is about visual inspection only. We are not going to describe how to adjust, wind, or release a spring. That is a job for a trained technician with the right tools and the right insurance.
Visual Spring Check
- With the door closed, stand inside the garage and look at the torsion spring mounted above the door opening.
- Check for a visible gap in the coil. A healthy spring is one continuous coil. A broken spring shows a clean break, usually a quarter-inch gap.
- On a two-spring system, compare the two springs. They should look identical. If one has a gap, it’s broken.
- Look for rust growth on the spring. Surface rust is cosmetic. Deep pitting indicates the spring is nearing end of life.
Visual Cable Check
- Look at the cable drum, the spool above each side of the door that winds and unwinds the cable.
- Examine the cable where it enters the drum. Frayed strands look like a fuzzy wire brush.
- Trace the cable down to the bottom roller bracket. Check for kinks or broken strands.
- Check for a cable that’s wrapped unevenly on the drum, which signals the door has been running off-balance.
If both springs look intact and both cables look clean, your problem is likely in the opener or the sensors, so check our Garage Door Warning Signs: A Orlando Homeowner’s Reference Guide. If either spring is broken or a cable is frayed, stop using the door and call for repair. We handle this exact scenario every day across Orlando, from Winter Park to Dr. Phillips, and the answer is never “try it yourself.”
Why a LiftMaster Blinking Four Times Is Not the Same as a Chamberlain Blinking Four Times
This section exists because homeowner forums are full of wrong answers. Error codes are brand-specific. The same number of blinks means different things on different brands. If you’re diagnosing your opener, use the manual for your exact model, not a forum post about a different brand.
On a LiftMaster, four blinks of the LED generally indicate a photo eye obstruction or misalignment. The door will close only if you hold the wall button down, which is the manual override. On a Chamberlain, four blinks also relate to the safety sensors, but the underlying fault can be a wiring short rather than an obstruction. Same blink count, different probable cause. On a Genie, a blinking red light means the door is hitting an obstacle or the force settings are too low. On a Raynor, the blink pattern is not standardized across models, which is exactly why guessing at the code is a waste of time.
If your opener is throwing a code you don’t recognize, unplug it for 60 seconds and plug it back in. A power reset clears residual logic board faults and often resolves codes caused by a surge. If the code returns, you have a real fault, not a glitch. That’s when it’s time to call a technician who works on your specific brand, not a generalist who will swap parts until something moves. See How to Hire a Garage Door Contractor in Orlando: A Step-by-Step Guide for what to ask.
How to Confirm a Repair Was Done Right, Not Just That the Door Moves Again
A door that moves is not the same as a door that’s fixed. This distinction matters in Orlando, where seasonal humidity and daily temperature swings cause a misaligned or improperly balanced door to degrade faster than it would in a stable climate. Here’s the verification checklist we run on every repair we complete.
- Balance test: Pull the emergency release handle and operate the door by hand. It should lift smoothly with one hand, stay in place at the halfway point, and close without slamming. A door that’s heavy to lift or drifts downward has a spring problem, even if the opener was just repaired.
- Travel test: The door should stop flush with the floor and fully clear the header opening. Gaps at the bottom or the top mean the travel limits need recalibration.
- Reversal test: Place a roll of paper towels on the floor under the door and close it. The door should reverse on contact. This is the safety mechanism your life depends on. It must work every time.
- Noise check: Run the door twice. A properly repaired and lubricated door should be quiet, with no grinding and no popping. A faint hum from the opener is normal. Any sharp sound is not.
- Photo eye check: Wave your hand in front of the sensor while the door is closing. The door should reverse immediately. If it doesn’t, the sensors are misaligned or failing, regardless of whether the door opens and closes.
If a repair passes all five checks, it’s done correctly. If it fails any one of them, the repair is incomplete. We built our Garage Door Repair in Orlando process around these checks because they’re the difference between a door that works this week and a door that works for the next decade.
Common Mistakes to Avoid
- Replacing the opener when the spring is the problem. This is the $300 mistake from the opening of this guide. A door that won’t lift is usually a spring failure, not a motor failure. The opener is the muscle; the spring does the heavy lifting. When the spring dies, the opener can’t compensate.
- Lubricating a broken roller. Rollers with failed bearings are done. Lubricant quiets them for a day, then the grind returns. Worse, the lubricant masks the sound you need to diagnose the problem.
- Adjusting travel limits to “fix” a door that’s off-balance. If the spring is weak, the door will be heavy. Cranking the opener’s force settings upward turns the opener into a crutch, and the unit burns out prematurely. In Orlando’s heat, premature motor burnout is already common enough without adding unnecessary strain.
- Ignoring a clicking relay. A click with no movement is a dead motor or capacitor, not a stuck door. Continuing to press the button repeatedly can damage the circuit board on a LiftMaster or Chamberlain.
- Wiping photo eye lenses with a wet cloth and leaving moisture. In Orlando’s humidity, a wet lens attracts dust. Dry it with a clean, dry cloth.
- DIY spring work. Every year we see the aftermath. The injuries are catastrophic and the insurance claims are denied because the homeowner wasn’t licensed. This is the one line you never cross.
- Assuming all error codes mean the same thing across brands. They don’t. A Raynor code is not a LiftMaster code. Your model’s manual is the only reliable reference.
When to Call a Professional
Call a professional when the problem involves spring tension, cable tension, or track realignment. These are the three categories where the risk of serious injury outweighs any money saved. Also call when your opener is throwing a fault code you can’t resolve with a reset, when the door is off track, or when a repair you’ve already paid for isn’t passing the verification checks above. A door that passed the balance test last month and fails it this month is telling you something changed. Carriage Garage Door Repair offers free estimates in Orlando and works on all eight major garage door and opener brands. The right diagnosis the first time is the whole point. Carriage Garage Door Repair home has the details, or you can call (855) 596-4175 directly.
Frequently Asked Questions
Spring replacement in Orlando typically runs between $180 and $340 depending on spring size and whether the door uses a single or double spring system. Opener gear replacement ranges from $120 to $220 including parts. Cable replacement runs $140 to $250. Full opener replacement with installation starts around $350 and climbs past $600 for premium belt-drive units. Every quote is agreed upon before work starts, so you’ll never see a surprise line item. Call (855) 596-4175 for a free estimate on your specific door.
Yes. We provide same-day service across the Orlando metro for repairs and emergencies, including broken springs and snapped cables. Opener replacements and new door installations are scheduled, with a free measure and written price provided at the visit. For a same-day repair, call (855) 596-4175 before noon and we’ll get a technician to your door today.
No. The price is quoted and agreed upon before any work begins. If a technician finds additional issues during the diagnostic, we explain them, show you the problem, and get your approval before adding anything to the scope. The number we quote is the number you pay.
Yes. We stock springs, cables, rollers, hinges, openers, gear kits, circuit boards, and sensors for LiftMaster, Chamberlain, Genie, Clopay, Amarr, Wayne Dalton, Craftsman, and Raynor doors. This is the advantage of a multi-brand specialist: we arrive with the right part, not an order form and a second service date. That matters in Orlando, where a door left unsecured overnight is a real risk.
Heat and humidity expand the metal track and roller hardware, tightening tolerances and amplifying any existing wear. Rollers near end-of-life squeal louder in July than they do in January. The fix is usually roller replacement and track lubrication with a silicone-based lubricant, not a heavy grease. We see this every summer across the Orlando area, and it’s a quick, low-cost repair when caught early.
No. Torsion springs wind and unwind under more than 100 pounds of torque. A spring that releases unexpectedly can remove fingers, break bones, or kill. This isn’t a contractor trying to protect a revenue stream; it’s the single most common serious injury in residential repair. Call a licensed, insured technician. Garage Door Installation in Orlando involves the same safety protocols, and the same rule applies.
The Bottom Line
Garage door troubleshooting isn’t about memorizing symptoms; it’s about following a decision tree. Mechanical problems live in the springs, cables, rollers, and tracks. Opener problems live in the motor, gears, board, and travel settings. Sensor problems live in the photo eyes, wall button, and remote. Most doors in Orlando fail in the mechanical branch, specifically the spring, while most homeowners assume the opener. Listen to the sounds, check the spring visually, test the sensors, and only then decide whether you’re fixing it yourself or making the call. For ongoing maintenance tips, explore more guides & resources. When the problem is beyond a visual check, get a technician who knows your door’s brand. That’s the difference between paying once and paying twice.
Written by the team at Carriage Garage Door Repair, serving Orlando since 2016.
See the difference
 Before
 After
 Before
 After
 Before
 After