Last updated October 30, 2026
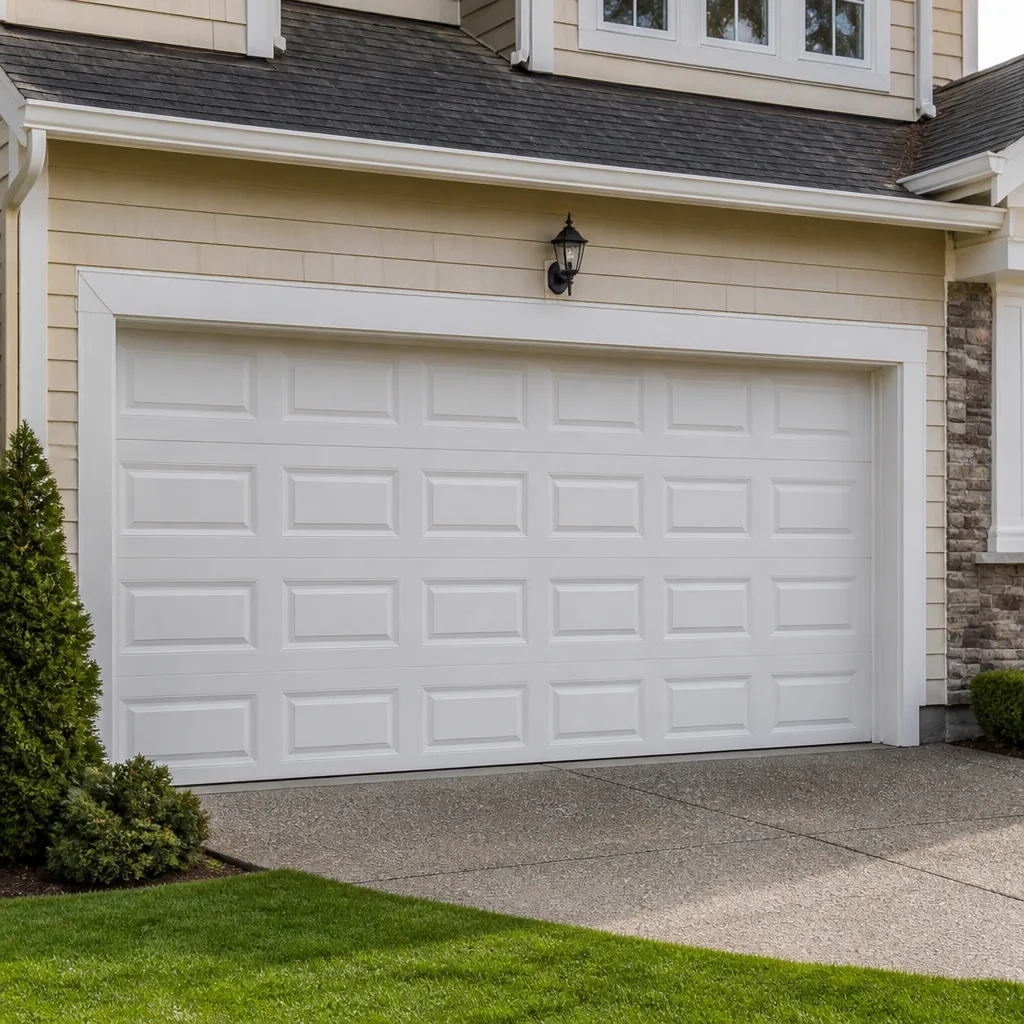 Raised-panel steel
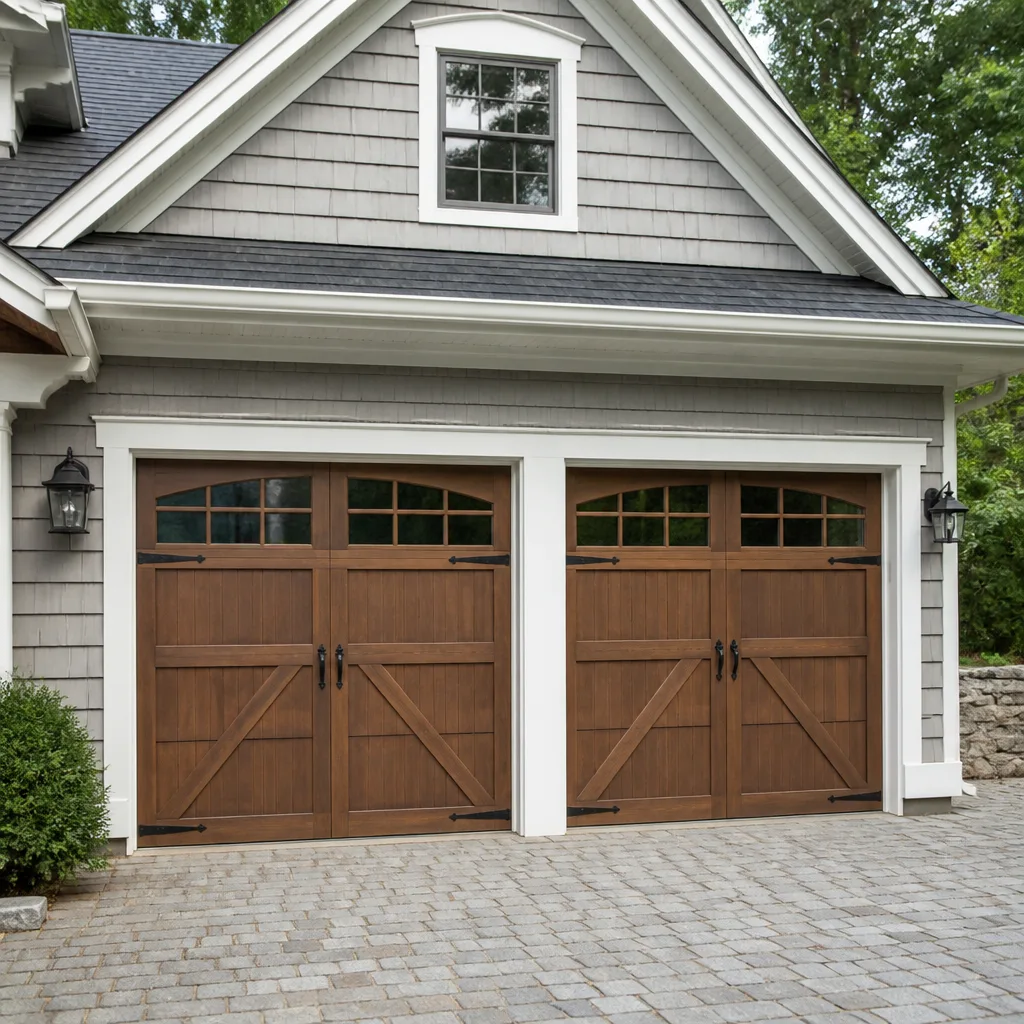 Carriage house
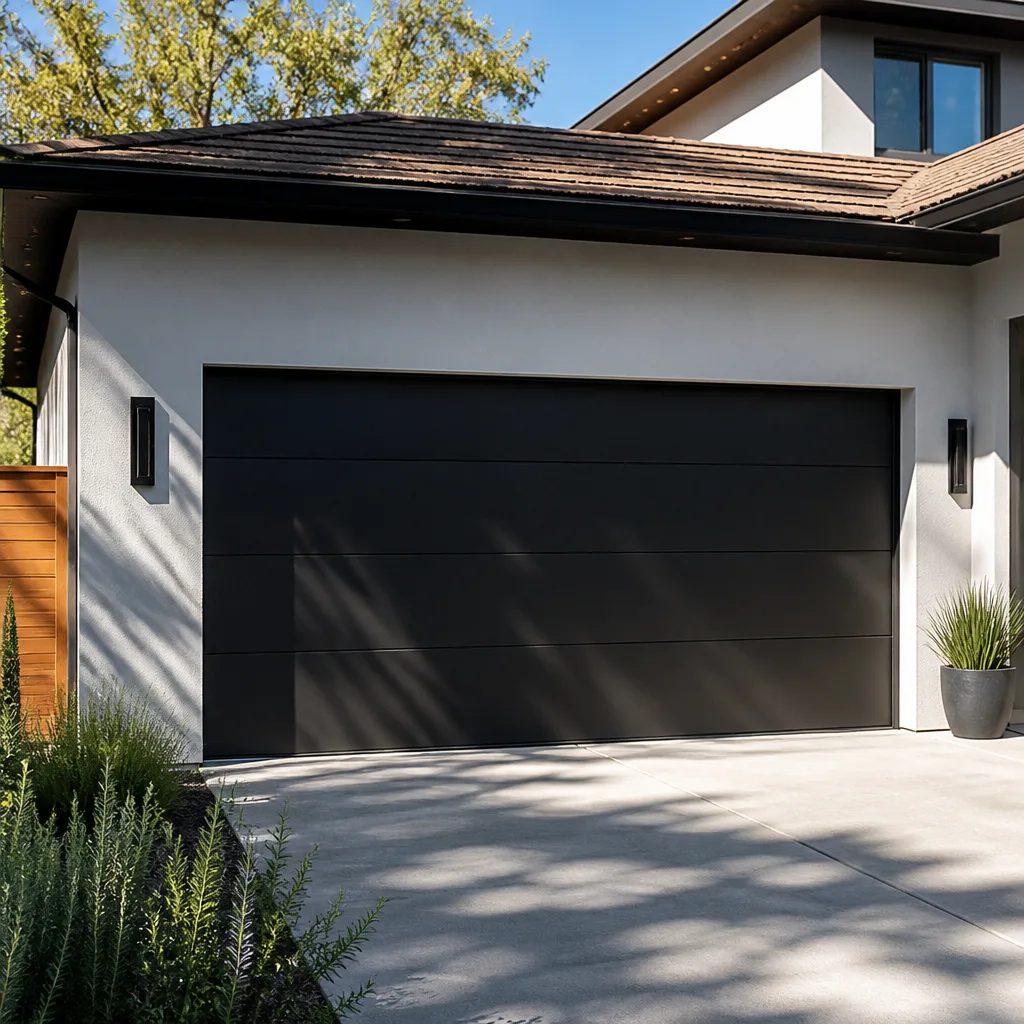 Modern flush
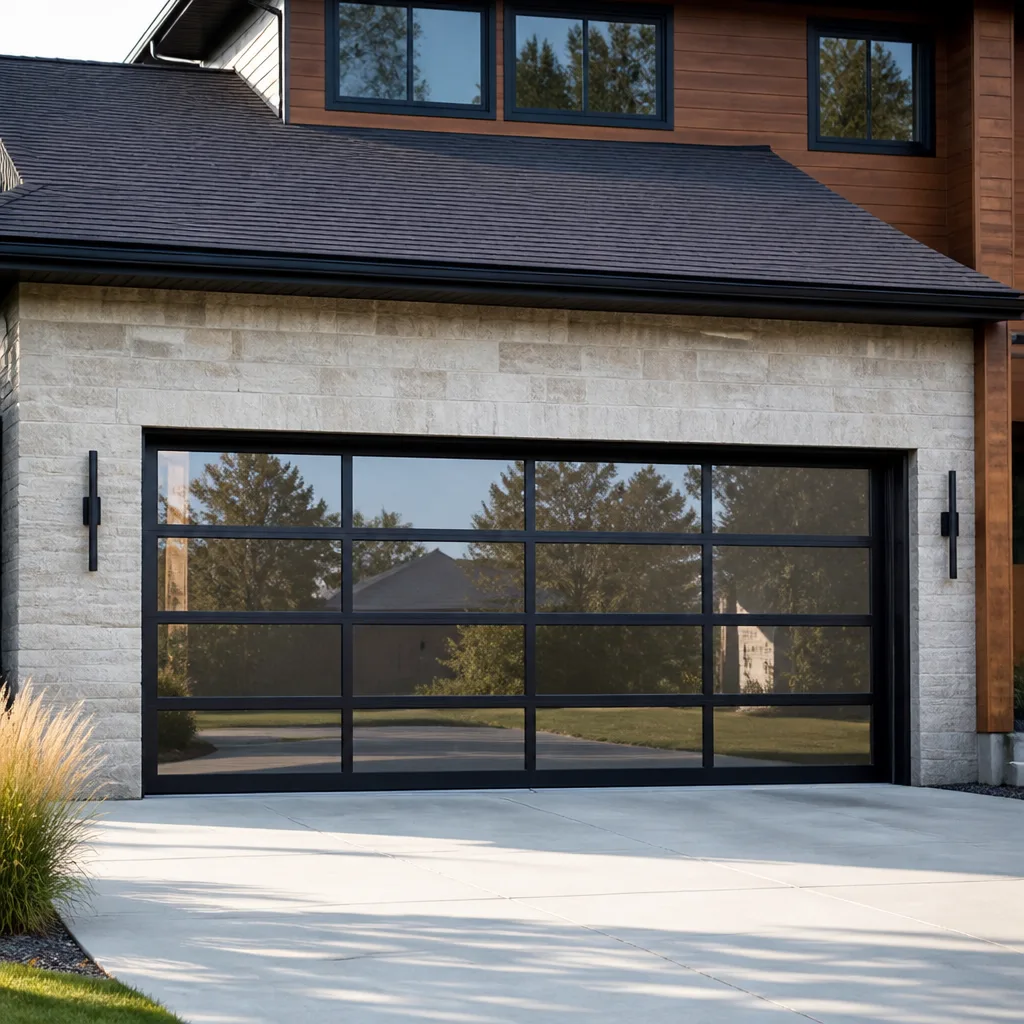 Full-view glass
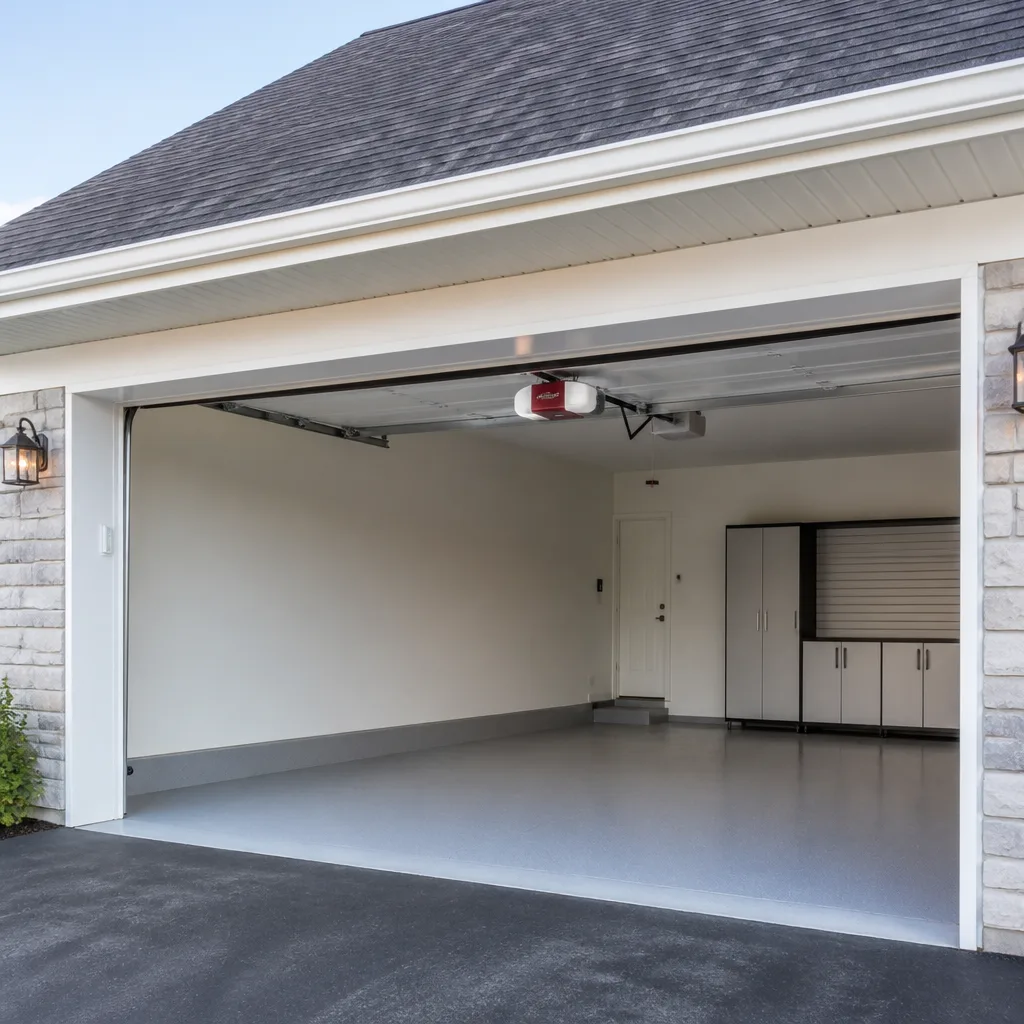 LiftMaster openers
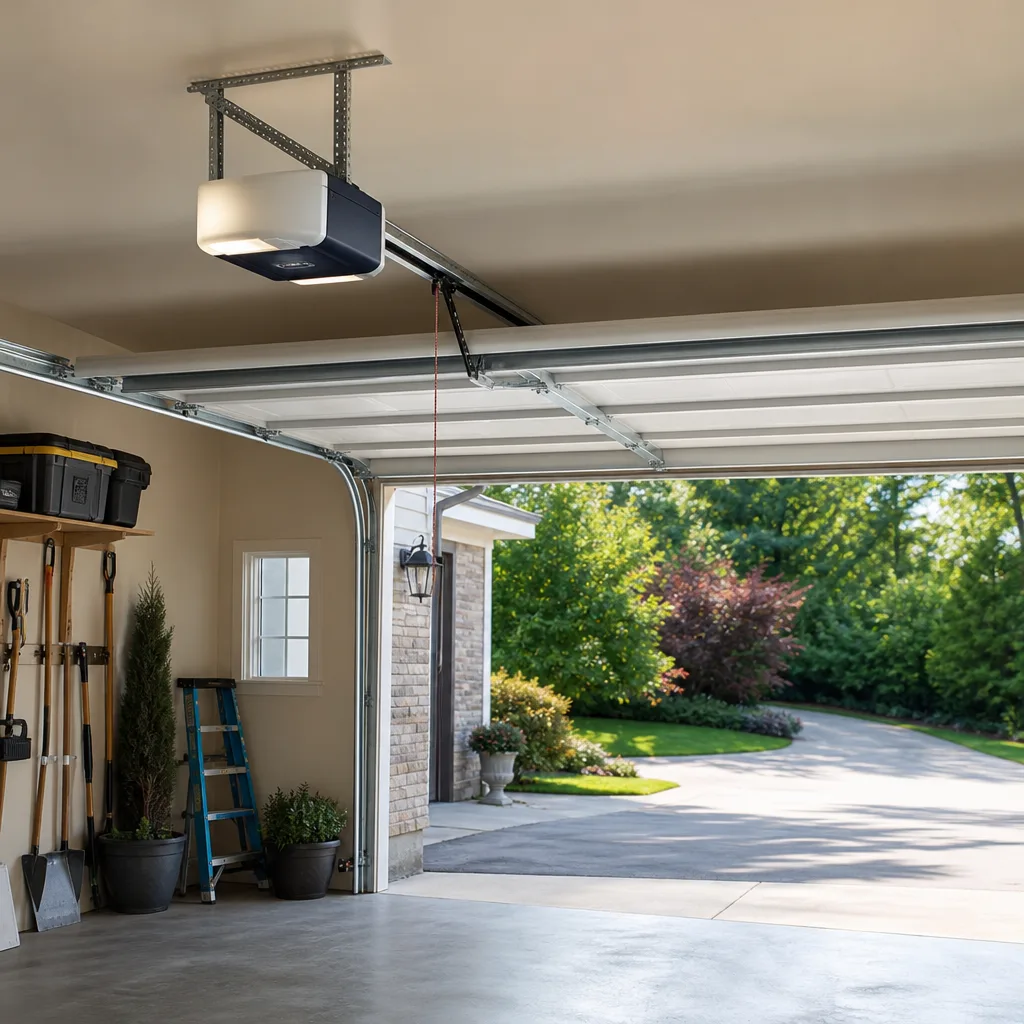 Chamberlain openers
Full 25-point door and opener safety check with every visit - springs, cables, rollers, tracks, and your LiftMaster or Chamberlain opener included
You get a price before we start. It does not change when the truck arrives.
Get your free estimateGarage Door Repair Maintenance Checklist for Orlando Homeowners
Most homeowners don’t realize that the single best way to avoid a $300 garage door spring replacement is a $12 can of the right lubricant used at the right time of year. In Orlando, the maintenance calendar is not what the national guides tell you. Our humidity, our two distinct dry seasons, and our late-summer hurricane window change which tasks matter most and when. This guide is built around Orlando’s actual weather patterns, the parts that fail here most often, and the maintenance intervals that prevent the majority of Garage Door Repair services calls we see across the city.
Styles & brands we work with
Quick Answer
A garage door maintenance checklist for Orlando should be organized by season, not by generic “twice a year” advice. The most important tasks are: lubricating torsion springs and rollers with a white lithium grease in March and November, testing auto-reverse sensitivity in May before storm season, inspecting and replacing UV-degraded weatherstripping each winter, checking opener chain or belt tension every six months, and cleaning photoelectric sensor lenses monthly during pollen season. Most Orlando homeowners can do the visual checks and lubrication themselves in 30 minutes a season; the spring tension and cable work should always stay with a professional.
Table of Contents
- Why Orlando’s Climate Dictates a Different Maintenance Routine
- The Month-by-Month Orlando Maintenance Calendar
- Lubrication: Exactly What to Use on Each Part in High Humidity
- How to Test Auto-Reverse Sensitivity Before Storm Season
- Weatherstripping Inspection: UV Damage vs. Normal Wear
- Opener Maintenance by Brand: Where the Eight Major Brands Differ
- What to Do Yourself vs. What to Hand to a Technician
- Common Mistakes to Avoid
- When to Call a Professional
- Frequently Asked Questions
- The Bottom Line
Why Orlando’s Climate Dictates a Different Maintenance Routine
Orlando has what engineers call a humid subtropical climate, which means your garage door lives in a sauna for about seven months of the year. The average relative humidity in Orlando runs between 70 and 78 percent from May through October. That moisture works its way into every pivot point, every roller bearing, and every spring coil on your door. Steel parts that would last fifteen years in Arizona will show surface rust in Orlando within three. The good news: the right maintenance routine, done on the right calendar, neutralizes almost all of that.
The second factor most national checklists ignore is our two distinct dry seasons. November through April brings lower humidity but higher UV exposure, and that ultraviolet light is what breaks down rubber weatherstripping and nylon roller bushings faster than anything else. Then there is hurricane season, June 1 through November 30, with its storm-driven debris and wind-load testing that your door’s balance springs have to withstand. A garage door that is slightly out of balance in March becomes a door that slams shut with dangerous force when a July thunderstorm gust catches it, which is why recognizing Garage Door Warning Signs: A Orlando Homeowner’s Reference Guide matters before storm season. Maintenance in Orlando is not about making the door last a little longer. It is about making sure the door is safe when the weather turns violent.
We have worked on garage doors in nearly every Orlando neighborhood, from College Park to Lake Nona to Dr. Phillips, and the failure patterns are remarkably consistent. The spring that snaps on a Winter Park door in August is almost always the spring that was never lubricated in March. The opener motor that burns out in Baldwin Park in June is usually the one that spent May fighting a door it could barely lift. The weather is not the problem. The calendar is.
The Month-by-Month Orlando Maintenance Calendar
Here is the maintenance schedule we recommend for Orlando homeowners, organized by month and tied to our specific weather patterns. Each task takes under ten minutes, and most require no tools beyond a rag and the right lubricant.
January and February: Dry Season Deep Check
- Inspect all weatherstripping. The winter sun in Orlando is lower and harsher on your door’s bottom seal and side seals. Look for cracking, brittleness, and gaps where daylight shows through. Replace now before the spring rains arrive.
- Clean the tracks. Use a dry rag to wipe out accumulated dust from the vertical and horizontal tracks. Do not grease the tracks; this attracts grit.
- Check roller condition. Rollers with visible cracking on the nylon wheel should be replaced before humid air accelerates the degradation.
- Test the door balance. Disconnect the opener with the red release cord, then lift the door halfway by hand. It should stay put. If it drops or rises, the springs need professional adjustment.
March: Pre-Humidity Lubrication
- Lubricate torsion springs. Apply white lithium grease along the top of each spring coil. This is the most important lubrication of the year.
- Lubricate rollers. A drop of silicone or lithium spray into each roller bearing. Skip the nylon wheel itself; lubricate only the metal axle inside.
- Lubricate hinges. Each of the door’s hinges gets a small shot at the pivot point.
- Wipe down sensors. Clean the photoelectric eye lenses with a dry cloth. March is pollen season in Orlando, and a film of yellow dust on a sensor will make your door refuse to close.
May: Storm Season Preparation
- Test auto-reverse sensitivity. Place a roll of paper towels or a 2×4 flat under the door’s path and close it. The door should reverse within two seconds of contacting the object. If it doesn’t, adjust the force setting or call us.
- Re-test the door balance. A balanced door is safer in high wind. Check it again now, before hurricane season officially starts.
- Check opener chain or belt tension. A sagging chain is louder and puts more strain on the motor. A loose belt slips. Tighten if needed.
- Inspect emergency release function. Pull the red cord and make sure you can open the door manually. If the power goes out during a hurricane, you need to know this works.
August and September: Peak Hurricane Monitoring
- Check for rust on hardware. The peak humidity months are when surface rust appears on bolts, brackets, and the bottom of the door. Wire-brush any spots and coat with a rust inhibitor.
- Listen specifically for grinding. A grinding noise in an Orlando August usually means a roller bearing has failed and is dragging metal on metal. Fix it before it damages the track.
- Inspect storm bracing. If your home has hurricane-rated garage door bracing, verify it is operable. If your door predates Florida’s 2002 wind-load code updates, consider an upgrade conversation with a professional.
November: Return to Dry Season Lubrication
- Repeat the March lubrication cycle on springs, rollers, and hinges. This is the second of the two critical lubrication windows.
- Re-inspect weatherstripping now that the daily rain has stopped. UV damage is easier to see and address in the dry air.
- Check the opener’s physical mounting to make sure bolts are tight and the opener rail has not sagged.
Lubrication: Exactly What to Use on Each Part in High Humidity
The single most common maintenance question we hear from Orlando homeowners is what to lubricate and with what. The national guides usually say “silicone spray on moving parts” and leave it there. That advice fails in Orlando for a specific reason: silicone spray evaporates in high heat and provides almost no rust protection in sustained humidity. The product you choose matters as much as the parts you lubricate.
Here is the part-by-part breakdown for Orlando conditions:
- Torsion springs: Use a white lithium grease spray. It penetrates between the coils, stays in place through months of humidity, and provides rust resistance. Silicone spray on torsion springs in July humidity does almost nothing. The lubricant choice alone can cut your spring replacement interval in half.
- Rollers: Nylon rollers with sealed bearings need no lubrication on the wheel itself. If the roller is older and has an exposed metal axle, a light silicone or lithium spray on the axle is enough. Avoid soaking the roller; the goal is not to attract grit.
- Hinges: White lithium grease applied to the pivot pin. A small amount is enough; excess drips onto the door and creates a mess that attracts dust.
- Tracks: Do not lubricate the tracks at all. The rollers ride on the track’s surface, and any oil or grease turns into a gritty paste that accelerates roller and track wear. Clean tracks with a dry rag only.
- Opener chain (on chain-drive models): A light machine oil or chain lubricant applied once a year. Chamberlain and LiftMaster chain-drive openers are the most common in Orlando, and the chain is the one opener component that benefits from lubrication. Belt-drive models need no lubrication.
The mistake we see most often in Orlando garages is the result of homeowners using WD-40 on everything. WD-40 is a solvent and moisture displacer, not a lubricant. It will actually strip the protective film from your springs and leave them more vulnerable to rust than if you had done nothing. In our high-humidity environment, the wrong product is worse than no product at all.
For timing, follow the March and November schedule above. Orlando’s humidity curve means that spring lubrication done in March lasts through the wet season, and the November application carries the door through the dry winter. Twice a year is genuinely sufficient if you use the right product.
How to Test Auto-Reverse Sensitivity Before Storm Season
Every garage door opener manufactured since 1993 carries two federally mandated safety systems: photoelectric sensors that detect an obstruction in the door’s path, and a mechanical auto-reverse that stops and reverses the door when it meets physical resistance. Both systems are only as good as their last test. In Orlando, testing the mechanical auto-reverse in May is a safety essential before the summer storms arrive.
Here is the test procedure, step by step:
- Start with the door fully open.
- Place a solid object flat on the floor in the center of the door’s path. A roll of paper towels works, but a 2×4 laid flat is the more rigorous test.
- Close the door using the wall button or remote.
- Watch the door. The moment it contacts the object, it should stop and reverse within two seconds. A door that hesitates, pauses for longer than two seconds, or continues pressing down after contact has failed the test.
- Test the photoelectric sensors separately by closing the door and waving an object through the beam while the door is moving downward. The door should reverse immediately.
If your door fails the mechanical test, the force setting on your opener is too high. That does not mean the opener is broken. On most LiftMaster, Chamberlain, Genie, Craftsman, and Raynor models, the up and down force limits are adjustable via two small dials or digital settings on the motor unit. Lower the down-force setting slightly and repeat the test until the door reverses promptly.
There is a specific reason Orlando homeowners should run this test in May rather than waiting for a generic fall maintenance reminder. Wind is the variable. A gust from a summer thunderstorm pushes down on a garage door as it closes, and the opener’s force sensor interprets that added resistance as an obstruction. If your force setting is already at the edge, the door will reverse on its own during normal operation, leaving your garage half-open in the middle of a downpour. Testing and adjusting in May means your door closes properly when the storms actually arrive.
If adjusting the force setting makes the door fail to close at all, or if the door reverses randomly even after adjustment, the issue is likely a balance problem in the springs, not the opener. You can read more on our Garage Door Repair in Orlando page about how a technician diagnoses that specific failure. The door and opener are a system, and the safety reverse is the first place problems in that system show up.
Weatherstripping Inspection: UV Damage vs. Normal Wear
Florida sun destroys rubber faster than garage door use does. The bottom seal on an Orlando garage door, the long rubber strip that runs along the floor, typically lasts three to five years before UV and heat make it brittle. The side and top seals can go a year or two longer. The failure mode here is not gradual thinning from the door opening and closing. It is cracking and hardening from the sun beating on the south-facing door for six hours a day, every day, year after year.
Here is how to tell whether your weatherstripping needs replacement. Run your hand along the bottom seal and look for these specific signs:
- Visible cracks anywhere along the seal, especially at the corners where the rubber bends each time the door closes.
- Hardening. The seal should feel flexible. If it feels like rigid plastic, the rubber compound has broken down and is no longer forming a seal.
- Flattening. The seal should have its original bulb or T-shape. If it is permanently squashed flat, it is not filling the gap against the concrete floor.
- Daylight showing through. On a bright day, close the door from the inside and look for gaps where the bottom of the door meets the floor. Any visible light means water, insects, and humid air are getting in.
- Water stains on the garage floor near the door after a heavy Orlando rain. This is the telltale sign that the seal has already failed.
The replacement itself is a DIY-accessible task on most residential doors. The old seal pulls out of its track on the bottom of the door, and the new one slides in. Replacement seals are sold in standard lengths at most hardware stores. What matters for Orlando is choosing a seal material rated for UV exposure. The cheapest rubber seals break down in two years; a vinyl or EPDM rubber seal rated for sun exposure will last twice that. For doors with significant gaps or uneven concrete on the garage floor, a technician can install an adjustable bottom seal or add a threshold seal to compensate. This is the kind of repair we handle as a quick service call on our garage door repair route.
Opener Maintenance by Brand: Where the Major Brands Differ
Garage door openers are not interchangeable. The eight major brands we work on have different designs, different wear points, and different maintenance requirements. Here is what to know for the four most common brands in Orlando homes.
LiftMaster and Chamberlain
These two brands are made by the same parent company, the Chamberlain Group, and share engineering. The most common units in Orlando are chain-drive and belt-drive models with DC motors. On these units, the maintenance priority is the rail and the drive mechanism. Chain-drive units need annual chain lubrication and tension checks. The chain will develop sag over time, and a sagging chain slaps against the rail and accelerates wear on the sprocket. Belt-drive models are lower maintenance but should still have belt tension checked annually. The DC motors run cool, but the logic boards on these units are sensitive to power surges, which are common during Orlando’s summer lightning. A surge protector on the opener’s power supply is cheap insurance.
Genie
Genie openers use a screw-drive mechanism on many models, and that screw drive is the maintenance focal point. A thin coat of white lithium grease applied to the screw once a year keeps it quiet and smooth. The grease breaks down faster in Orlando’s heat, so spring application is better than fall. Genie units also tend to use a slightly different photoelectric sensor design that is more tolerant of pollen buildup than Chamberlain units, but the lenses should still be wiped clean monthly during March and April.
Craftsman
Craftsman openers are mostly Chamberlain-built units sold under the Sears brand, so the maintenance profile matches LiftMaster and Chamberlain for machines made after the mid-1990s. The key difference is age. Many Orlando homes still have Craftsman units from the 1990s and early 2000s, and these older units have AC motors that run hotter and louder. The maintenance reality is that these openers are past their designed service life, and the safety systems are two decades old. If a Craftsman unit in your Orlando garage is giving you trouble, the better question is whether repair still makes sense or whether a replacement opener with a modern DC motor and current safety features is the right call. Our Garage Door Opener Repair in Orlando page explains how we help homeowners make that call.
Raynor
Raynor is less common in Orlando than the Chamberlain brands but shows up regularly in higher-end homes. Raynor openers are solid units with a different gear design, and the maintenance point to watch is the limit switches. When they drift out of adjustment, the door either does not close fully or reverses at the bottom. The fix is a simple adjustment, but it requires knowing the specific procedure for the Raynor model, which differs from the Chamberlain procedure. That brand-specific knowledge is why we maintain training across all eight brands rather than specializing in one.
The common thread: every opener should have its force settings, limit settings, and safety reverse tested at least twice a year regardless of brand. The brand tells you where the unit wears first. The calendar tells you when to check it.
What to Do Yourself vs. What to Hand to a Technician
The maintenance checklist above is designed so that most Orlando homeowners can handle the visual inspections, cleaning, and lubrication themselves. These tasks require no special tools and no work on components under tension. But there are tasks on a garage door that genuinely require a professional, not because you cannot turn a wrench, but because the components carry enough stored energy to cause serious injury if handled incorrectly.
Tasks that are safe to do yourself:
- Visual inspection of all hardware, weatherstripping, and rollers
- Cleaning photoelectric sensor lenses
- Lubricating springs, hinges, and roller axles (with the door closed and the opener disengaged)
- Testing auto-reverse and balance
- Replacing weatherstripping
- Tightening loose bolts on hinges and brackets
Tasks that should always go to a trained professional:
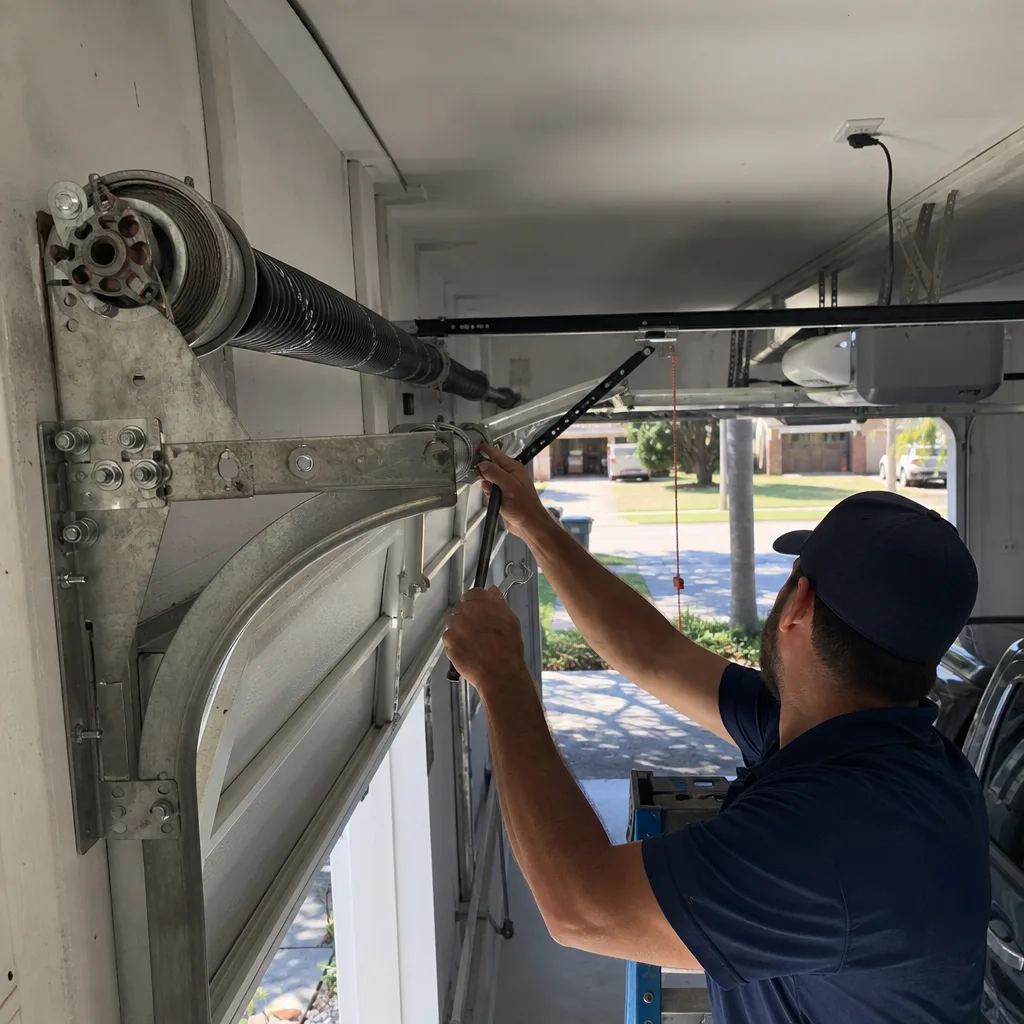
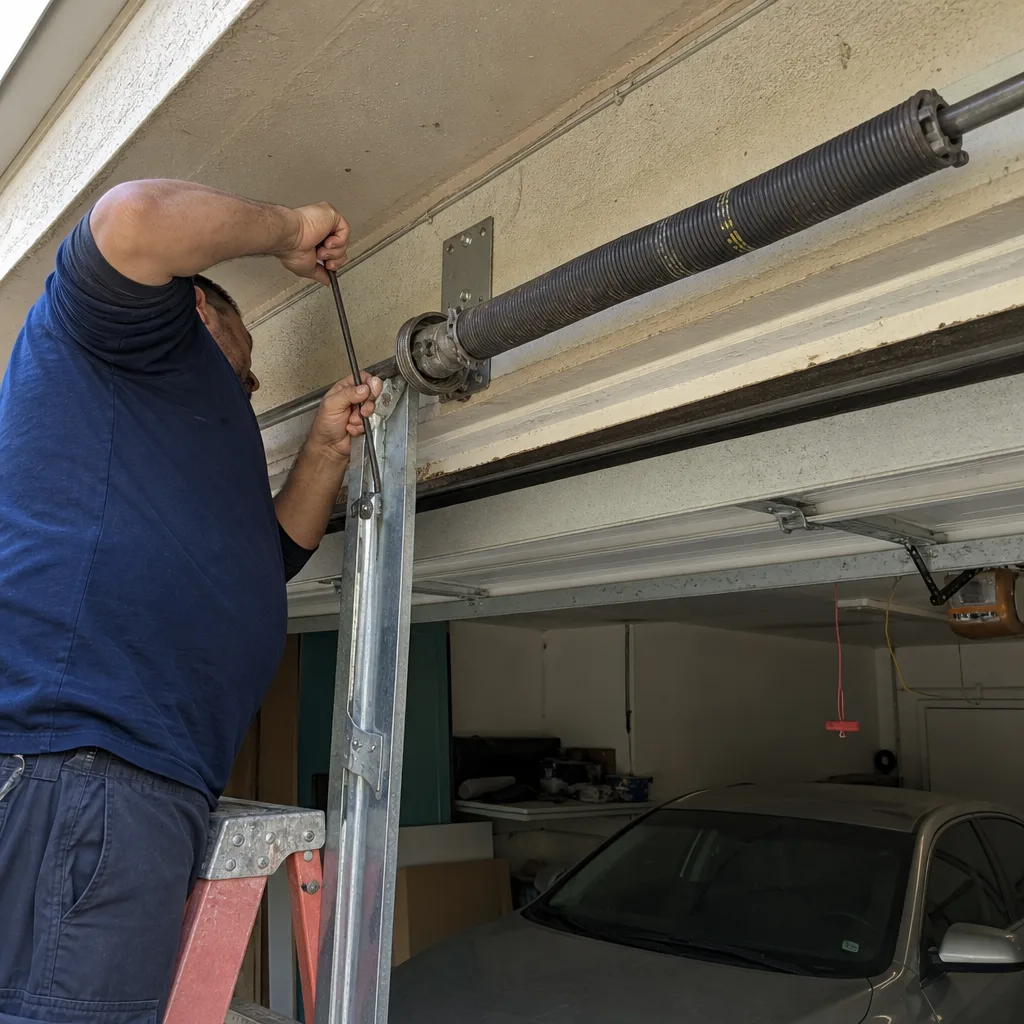
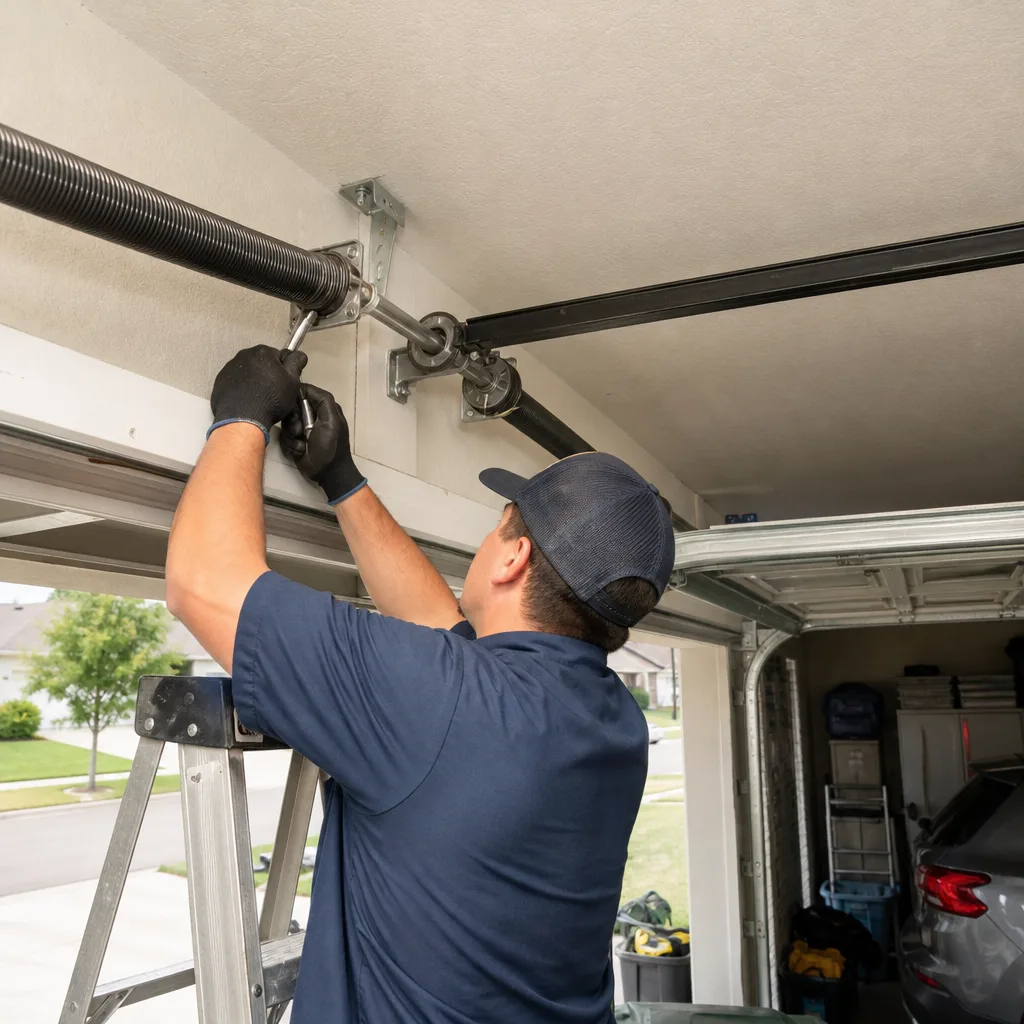
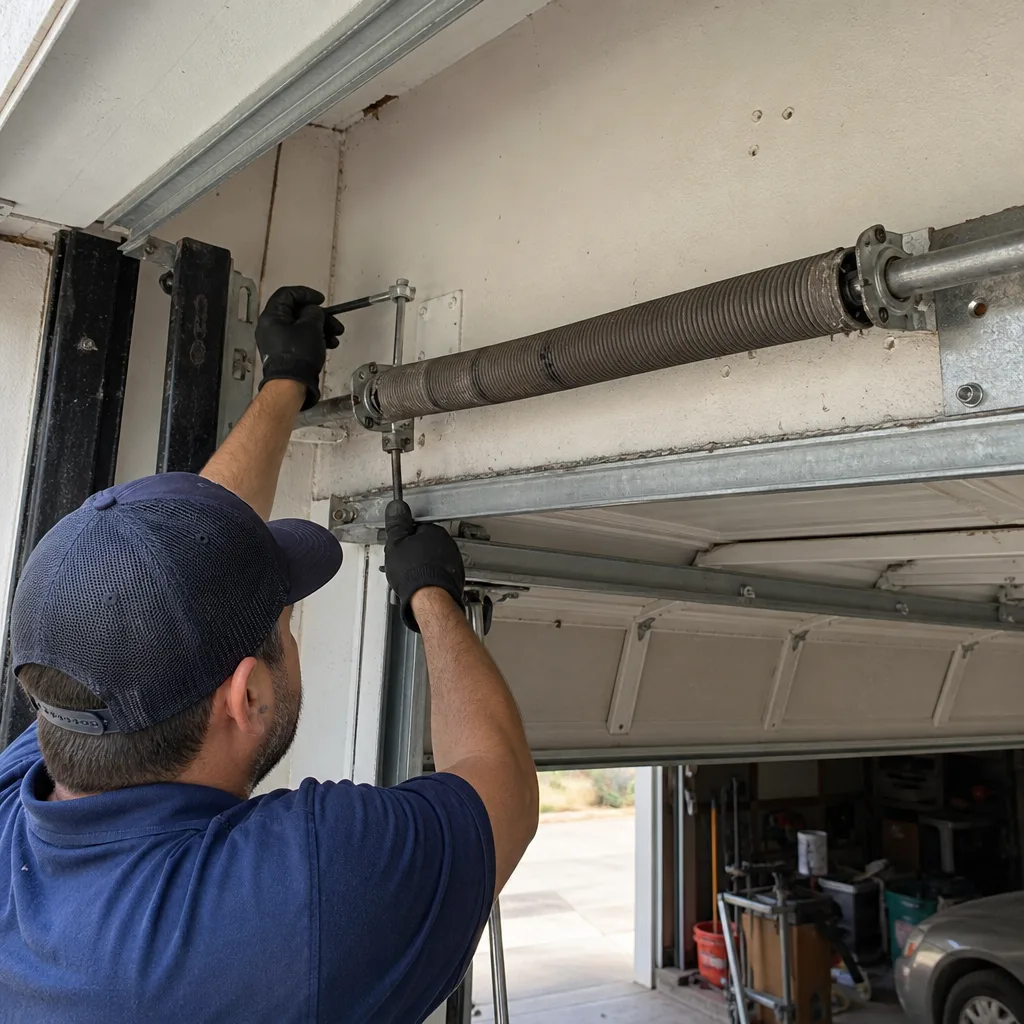
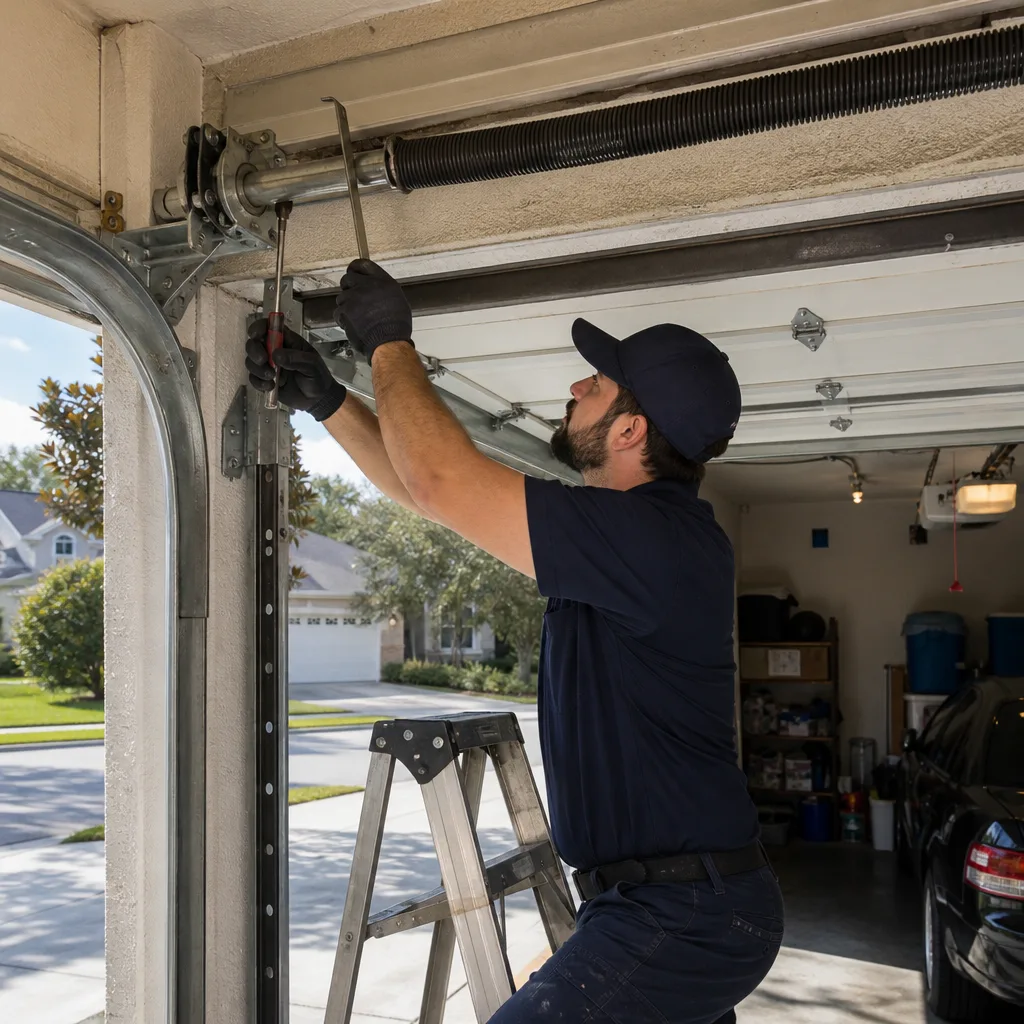
- Adjusting, replacing, or repairing torsion springs. Torsion springs hold hundreds of pounds of tension. A spring that snaps during DIY work can throw metal with enough force to cause fatal injury.
- Replacing or adjusting extension spring safety cables. If a cable slips, the spring becomes a projectile.
- Replacing cables that have frayed or snapped. The cable runs through a drum at the top of the door, and the tension on that cable is not something to guess at.
- Straightening or replacing a door that has come off its track.
- Adjusting opener force settings when the door does not respond predictably to the adjustment procedure.
There is a reason the warning labels on torsion springs are so prominent. Even experienced technicians treat these components with respect. The do-it-yourself portion of garage door maintenance covers the parts that wear predictably and the checks that reveal when a professional is needed. When the inspection finds something on the second list, call someone who works on these systems every day.
Common Mistakes to Avoid
- Using WD-40 as a lubricant. WD-40 is a solvent, not a lubricant. On Orlando garage doors, it strips away protective coatings and leaves bare metal springs vulnerable to the humid air. Use white lithium grease instead.
- Lubricating the tracks. The rollers need lubrication, not the track. Grease on the track collects dust and grit, which then grinds into the rollers and shortens their life.
- Ignoring a noisy door. A door that squeaks, grinds, or pops in a College Park garage is telling you something specific. Squeaks are usually dry hinges or rollers; grinding is usually a failed bearing; popping is sometimes a spring binding. The noise will not go away on its own.
- Testing auto-reverse only once a year. In Orlando, test it in May before storm season and again in November. Wind and changes in spring tension shift the door’s behavior through the year.
- Replacing weatherstripping with the cheapest option. In Florida’s UV, the bargain seal lasts two years and the EPDM rubber seal lasts five. The math is not close.
- Adjusting spring tension without training. The single most dangerous DIY task on a garage door. Even with a YouTube tutorial, the risk is not worth the savings. This is the one task where a professional call is always cheaper than the alternative.
- Ignoring opener limit drift on older units. If your 1998 Craftsman opener has started reversing at the floor or stopping a few inches short, that is a limit switch problem. Waiting to fix it means the door slams harder and harder into the concrete, which damages the door panels.
When to Call a Professional
Call a professional the moment you see a frayed cable, a cracked spring, or a door that will not stay balanced. These are not conditions that wait conveniently. A frayed cable will snap, often when the door is mid-cycle, and a snapped cable drops the door violently to one side. A cracked torsion spring is already past the point of safe operation. If your door makes a sound that you have never heard before, or if the opener changes its behavior in a way that is not explained by the seasonal adjustments above, stop using the door and get a diagnosis. Carriage Garage Door Repair offers free estimates in Orlando – call (855) 596-4175 and we will tell you what is wrong, what it costs, and whether repair or garage door installation in Orlando is the smarter path. We will also tell you if the problem can wait. That is the honest answer, and in this business, honesty is the maintenance plan that matters most.
Frequently Asked Questions
Twice a year, in March and November. Those two months bracket Orlando’s humid season, and the timing maximizes the rust protection of a white lithium grease application. If you use a silicone spray instead, you will need to reapply four or more times a year because silicone evaporates in heat. Call (855) 596-4175 if you want help identifying the right product for your door.
DIY lubrication costs about $15 to $30 per year for the right products. Professional tune-up services in Orlando typically run $85 to $150, depending on the scope. We always quote the exact price before any work starts, so you know the number before we begin. Call (855) 596-4175 for a free estimate.
You can lubricate torsion springs yourself safely with the door closed and the opener disengaged, using white lithium grease sprayed along the top of each coil. You should never attempt to adjust, repair, or replace a torsion spring yourself. The stored tension can cause serious injury. For spring issues, call a professional at (855) 596-4175.
A door that reverses spontaneously during a storm is almost always reacting to wind pressure. The wind pushes against the door as it closes, and the opener’s force sensor misreads that pressure as an obstruction. This is usually fixable by adjusting the down-force setting. If the problem persists after adjustment, the door’s spring balance may be off, and a technician should evaluate it.
Yes, especially in Orlando. Summer lightning storms produce power surges that damage the logic boards in garage door openers, and those boards are the most expensive component on the unit to replace. A basic surge protector on the opener’s outlet is a low-cost way to prevent a very common Orlando repair.
An unlubricated torsion spring in Orlando lasts about 5,000 to 7,000 cycles, which for most families is six to eight years. A properly lubricated spring lasts 10,000 cycles or more, which stretches the lifespan to ten to twelve years. The lubricant matters more in the humidity than anywhere else because rust is the primary killer of springs here. Call (855) 596-4175 for a spring inspection and lubrication service.
The Bottom Line
Orlando’s garage doors work in a climate that punishes neglect faster than most. The humidity rusts the springs, the UV eats the seals, and the summer storms test the safety systems. A maintenance routine built around March and November lubrication, May auto-reverse testing, and January weatherstripping inspection solves most of the failures before they happen. Do the safe tasks yourself, use the right products, and treat the tension-bearing components with the respect they deserve. When your inspection turns up a cable, spring, or balance problem, call a professional before it becomes an emergency. We have spent years on Orlando garage doors, and the homes that follow this calendar are the ones we almost never see for emergency calls. Carriage Garage Door Repair home has the full picture of our services and how we work.
Written by the team at Carriage Garage Door Repair, serving Orlando since 2016. For more guides & resources, visit our blog.
See the difference
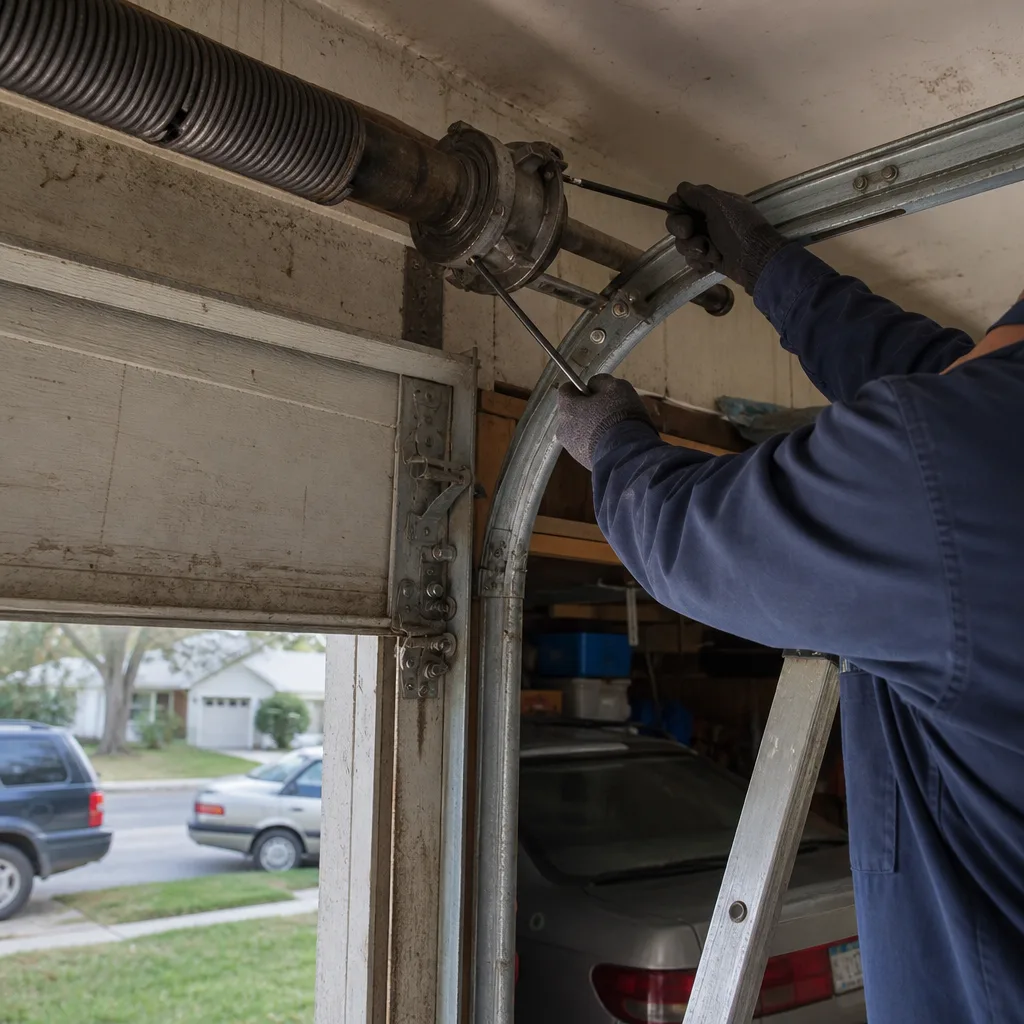 Before
 After
 Before
 After
 Before
 After